I spend a lot of time reading about food. It's what I like doing the most; yet, when I sat down to write this particular post, I realised most of what I know about Tamales was from either the stories my mother and grandma had or from general common knowledge. I decided to research a little bit more about it, what I found out really surprised me! For example, did you know that the oldest records place tamales as far back as 1200 BC in Mayan paintings?! or that the Franciscan Friar, Bernardino de Sahagun (a most remarckable historian and ethnographer who dedicated over 50 years of his life to the study and documenting of the Aztec people's culture and traditions) has a whole section dedicated to Tamales with detailed descriptions of what they were, how they were cooked and eaten and when in his 16th century manuscripts entitled 'General History of the Things of the New Spain'?! I certainly didn't! So I'm sharing some of what I knew and some of the new bits I learned here with you.
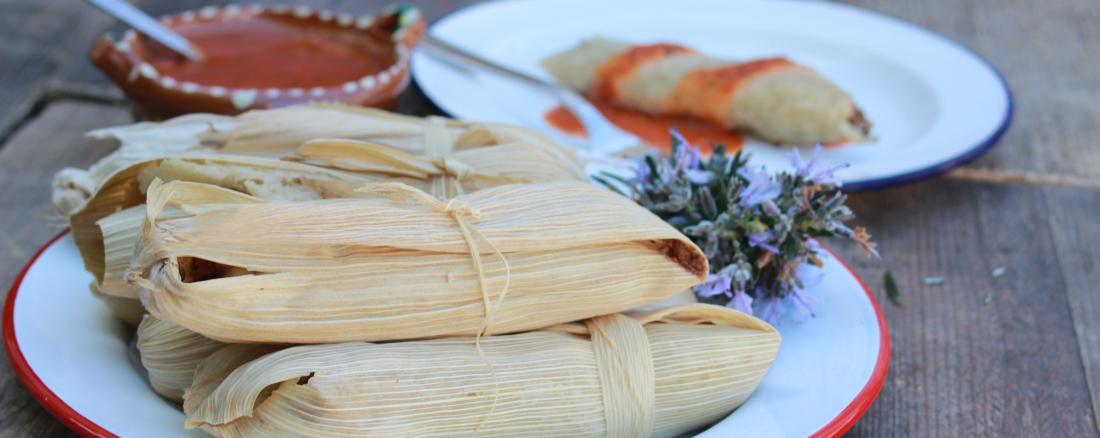
A Tamal (not Tamale) is a parcel made of maize dough, which has been stuffed with either a savoury or a sweet filling, wrapped in a corn husk or banana leaf and then steamed until cooked. The husks or leaves are discarded before eating as they are only a vessel for the dish inside. It is only in very few cases that edible leaves of avocado and local plants are used as wrapping so they are eaten as part of the tamal, in general, however, the leaves are unedible, so to be on the safe side, if you're given a Tamal, don't eat the husk!
The word Tamal came from the term 'Tamalli', a Nahuatl (Aztec) word meaning 'wrapped'. I found out that there are close to 500 original, regional recipes catalogued in Mexico alone, out of which as many as 5000 variation recipes have been recorded (5001 if you count this one!). They were eaten widely by both nobles & common people in prehispanic Mexico during religious festivals and special days. Some historians speak about the tamales being used as food to go or to take into a journey as the dough and husk or leaf would help preserve and protect the meat inside. The tamal would be heated in a wood fire, husk and everthing on, and unwrapped when heated through to eat the contents. The husks served as both protection and a sort of container to eat the tamal from. In a funny sort of way, we still do that, unwrap a tamal and eat it off the husk on a plate.
Tamales are a dish that is eaten in the whole of the country. Every region has different fillings based on local ingredients and perhaps a slightly different way to make them, but the ancient tradition, cooking method and basic recipe remain the same since 1200 BC! They are a celebratory meal and a sort of right of passage for many women in Mexico. I dare find a Mexican family who hasn't, at some point, gathered the women and children of the family in the kitchen to help make a bunch of these for a party or for Christmas! Nowadays, there are many commercial companies supplying them to supermarkets, but in rural Mexico, many women still make them by hand and enterprisingly sell them at their village market to earn a living. A tamal made by hand is so much more satisfying than one bought in a shop. It also preserves a tradition that is as old as Mexican time.
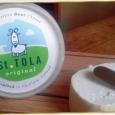
While traditionally in the North of Mexico we use cheddar or another hard cheese to make these tamales, here I used my home made spiced beans and my favourite Irish Goats Cheese, St. Tola's Original, as a filling; I loved the way the cheese softens and runs into the beans withouth completely melting into them; it complements the flavour of the beans so well and it adds an airy texture to the filling. It works fantastically well with the dish as a whole. I hope you like them as much as we did!
Note: making tamales is hard work, but it can be great fun if you have the family helping or invite a few friends with the promise of a nice meal after! Trust me, they are worth all the effort.
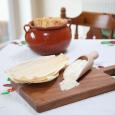
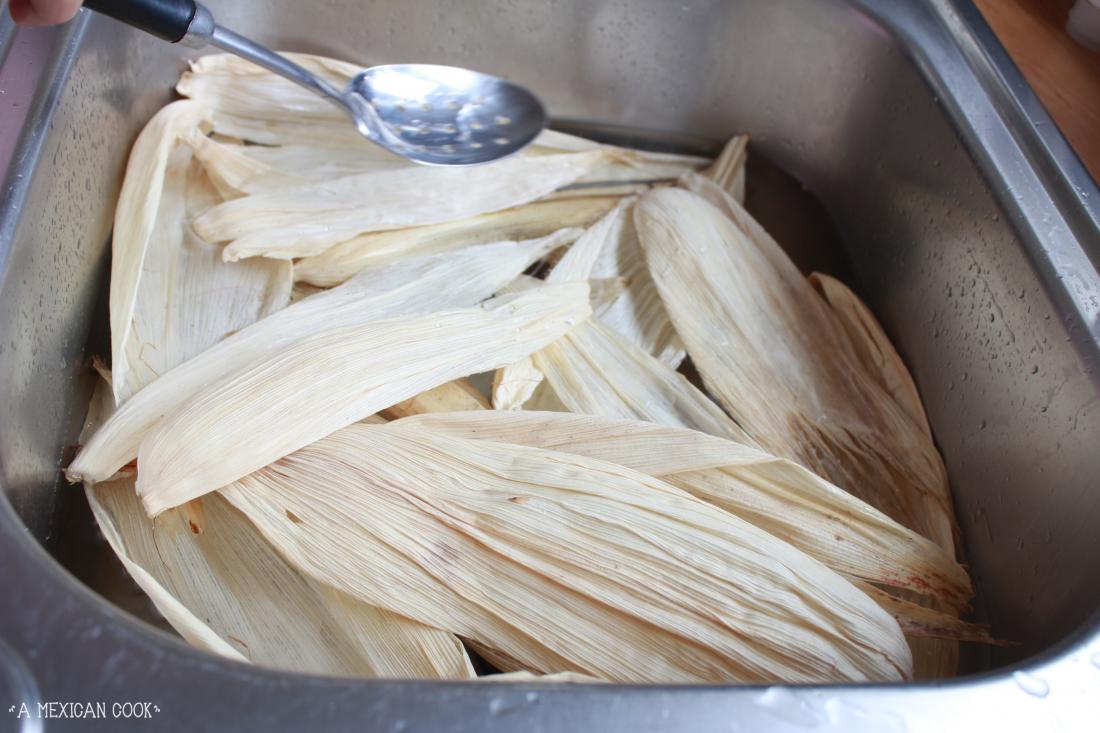
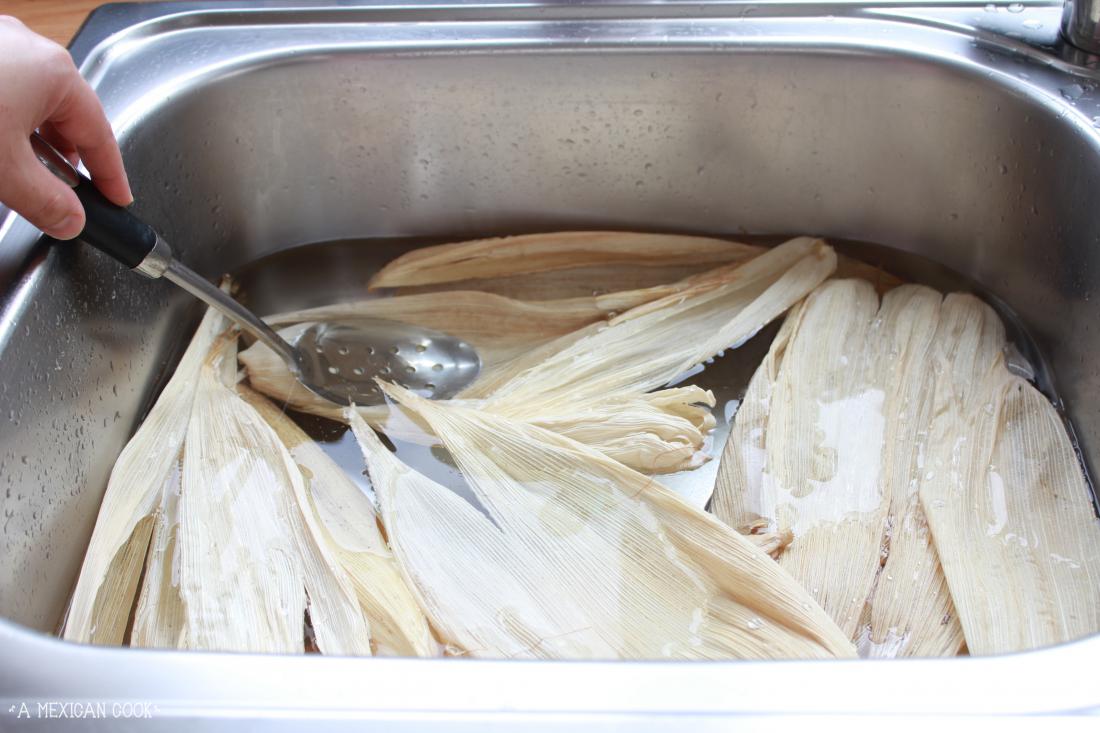
Start by prepping your corn husks. Put the stopper to your kitchen sink (you can also use a big container for this). Place the dry corn husks at the bottom of the sink making sure to separate them beforehand. The husks most likely are going to be all different sizes, don't worry about this, just put them all in the sink. Cover the husks with boiling hot water from the kettle, you might have to boil the kettle a few times for this, but soaking the husks in hot water is essential for the success of your tamales. If you find they are floating on top of the water, use a plate to weight them down. Leave them soaking while you get on with the rest of the steps.
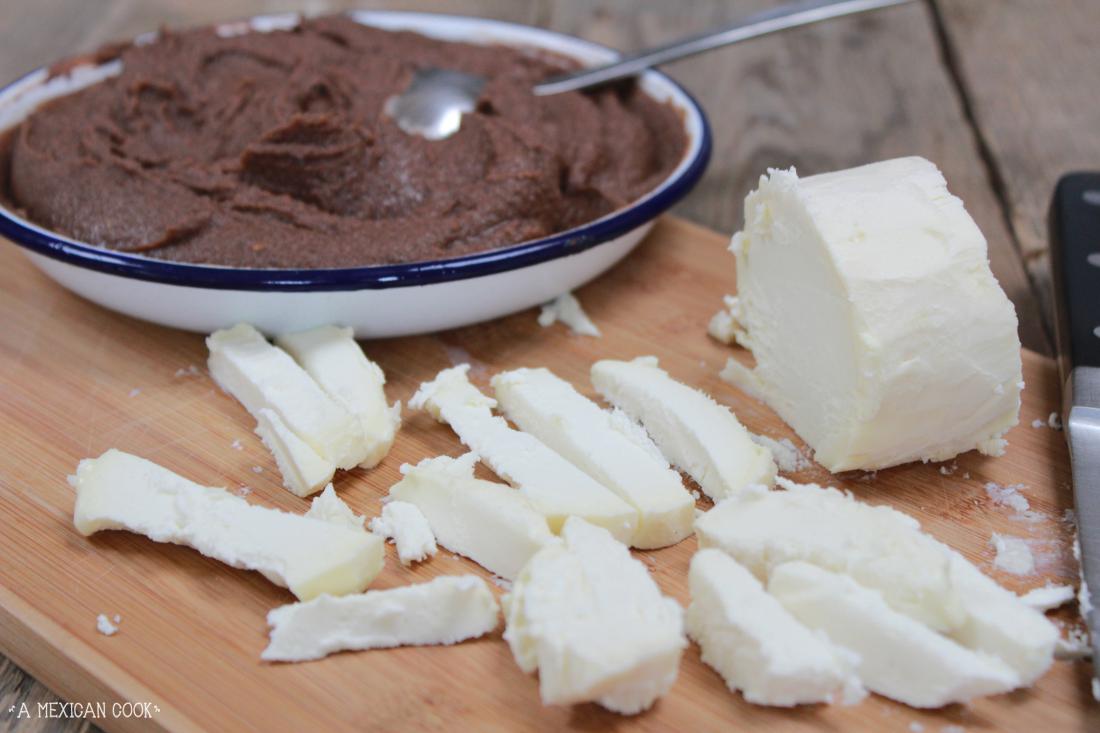
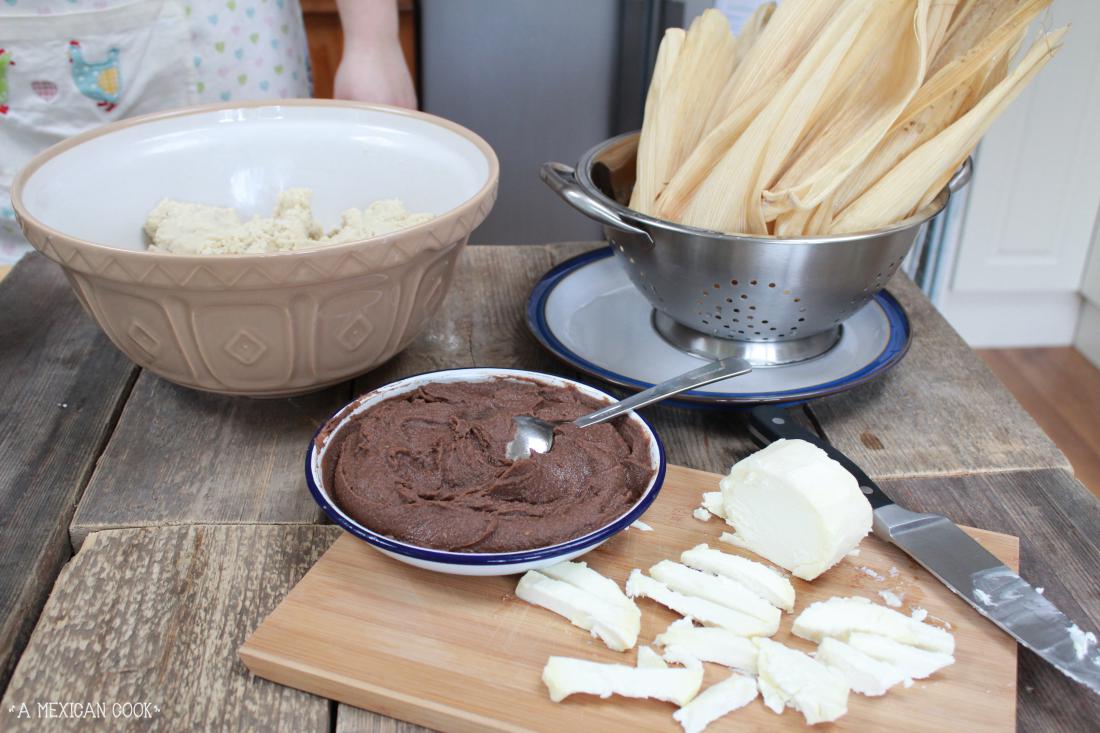
Follow by getting the filling ingredients for the tamales ready. Put the spiced beans in a bowl with a spoon. The beans don't need to be heated, cold is fine. Cut the cheese in long strips of about 1/4 inch thick. You want enough cheese to flavour but not to dominate the taste of the tamal. Lay the filling ingredients on the worktop or table where you are working and proceed with making your tamal dough.
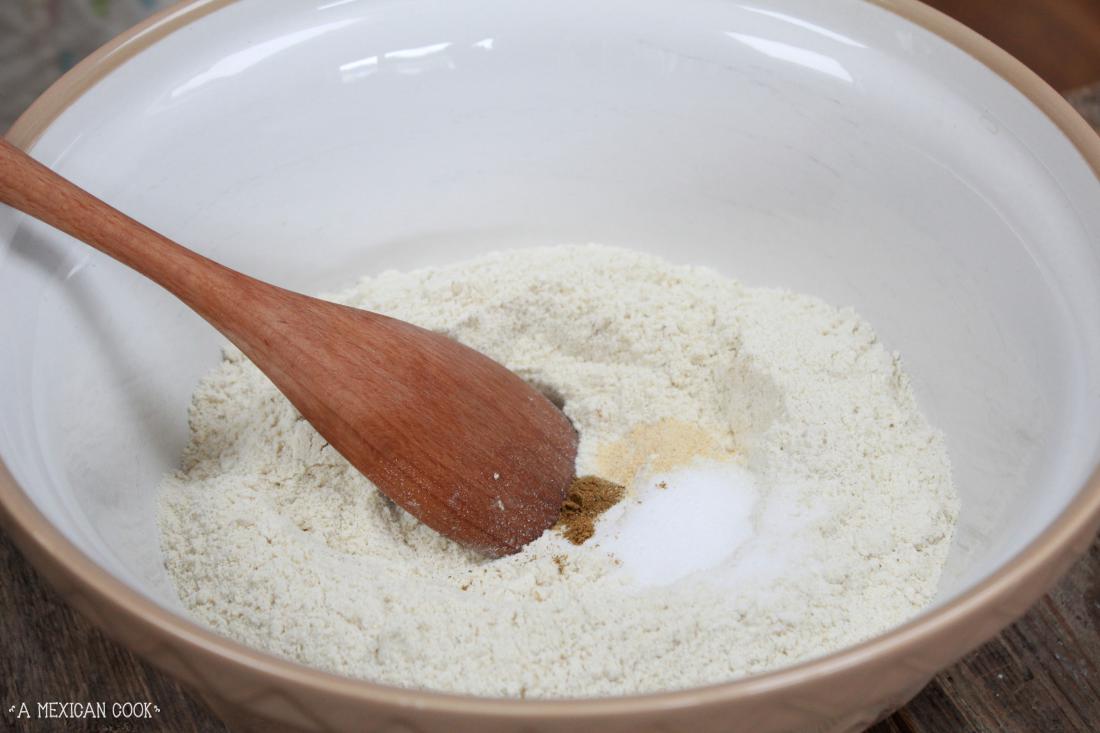
In a large bowl, put together the tamales masa-harina, salt, cumin and garlic powder. Mix well until all the dry ingredients are well incorporated.
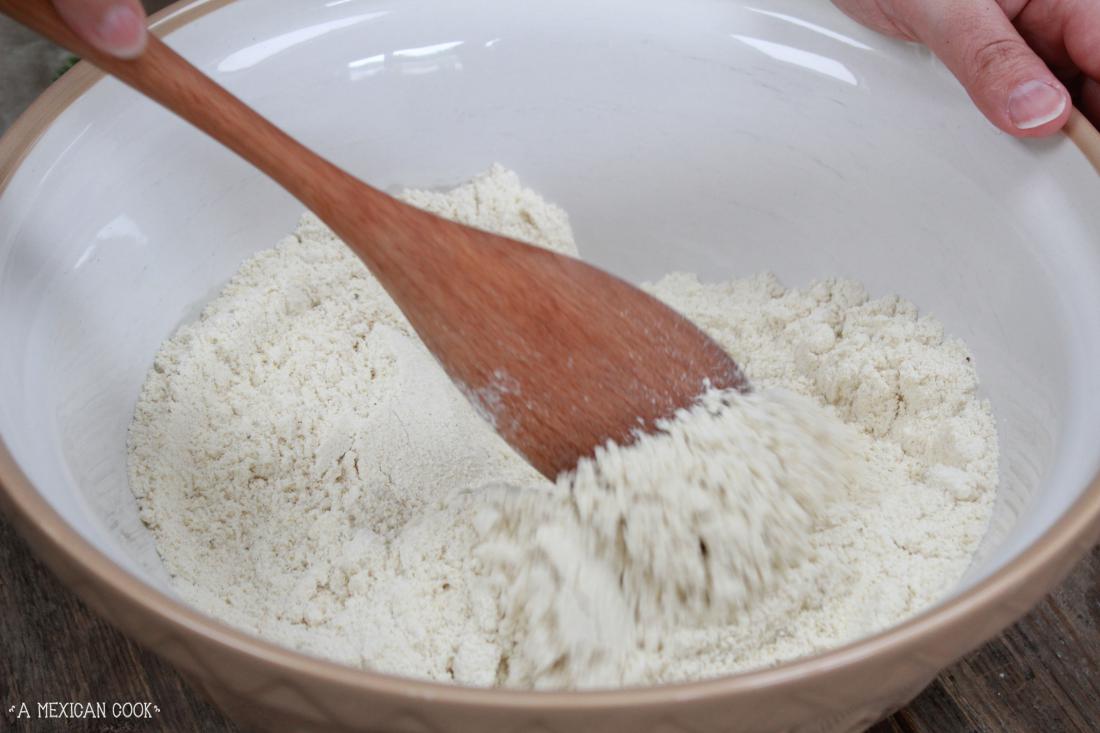
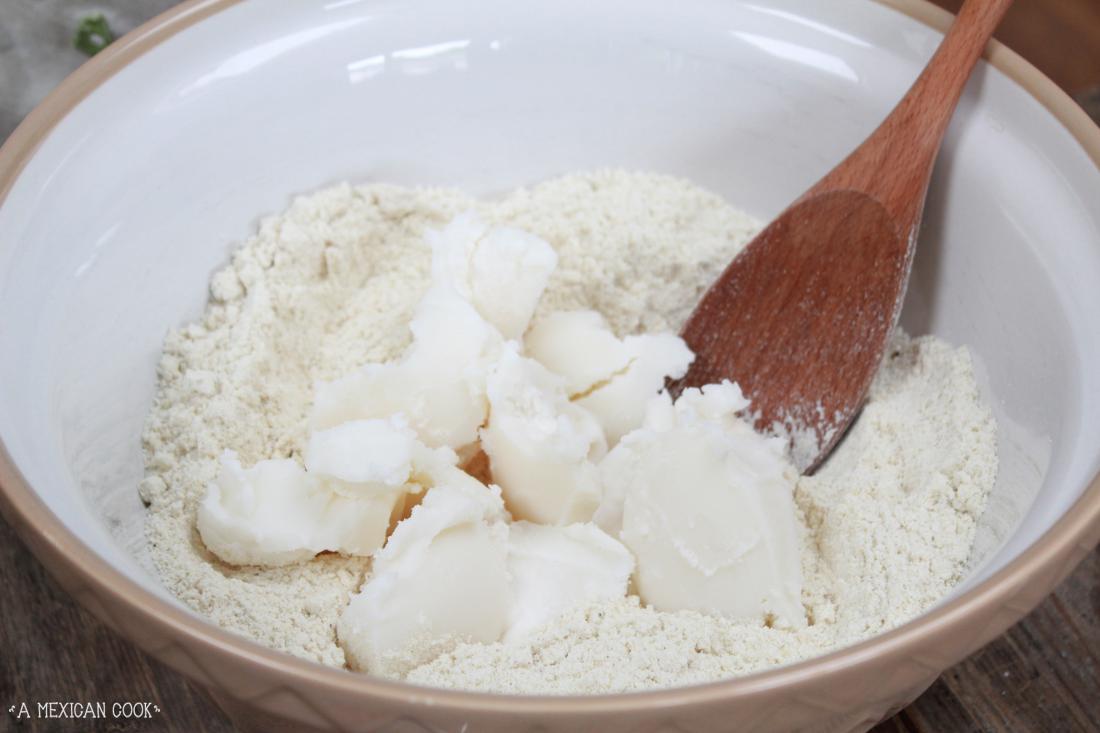
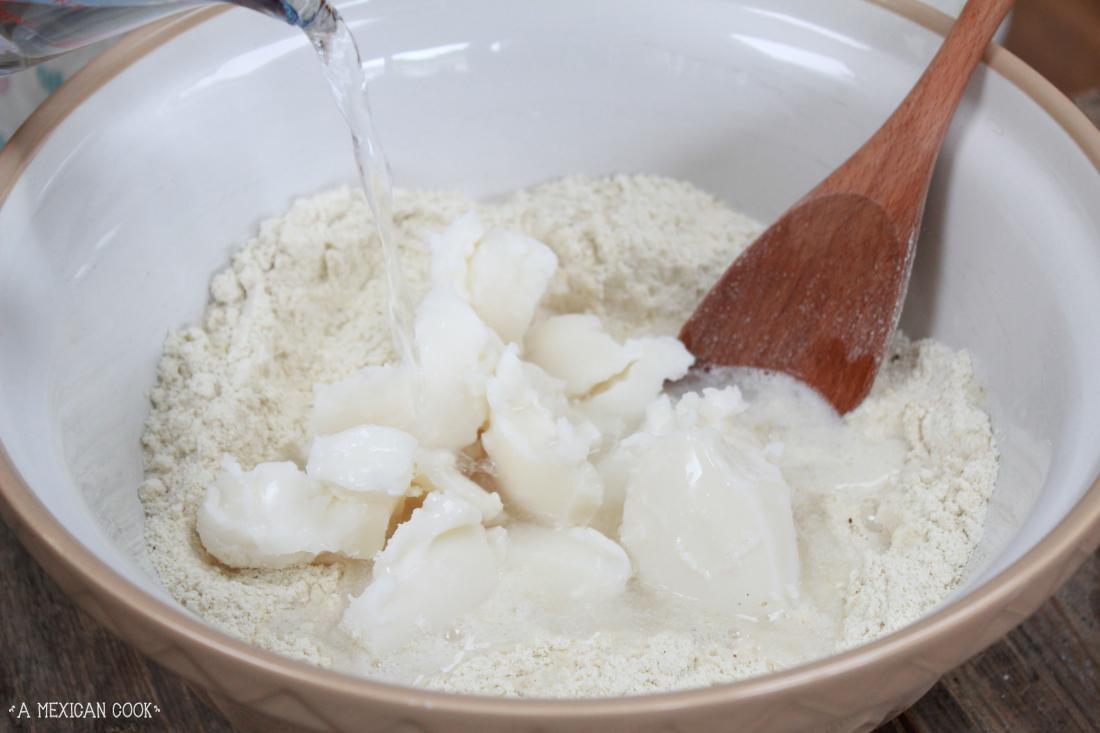
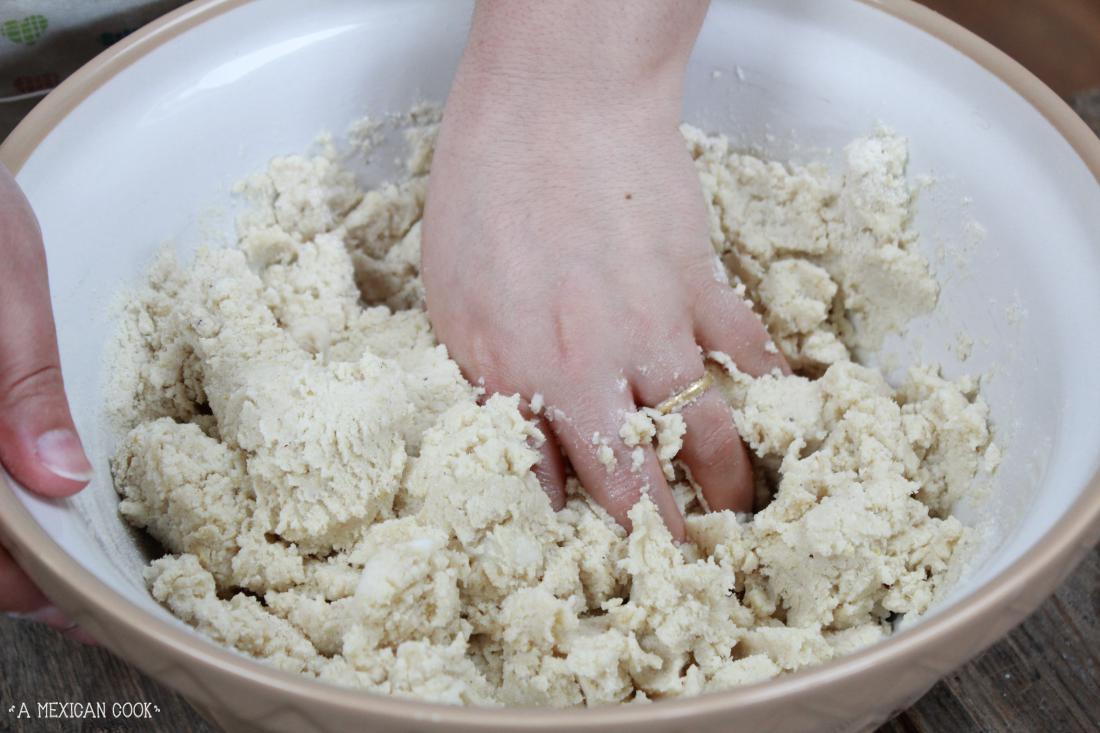
Add lard and the warm water and using a spoon (water is hot) incorporate everything to the point where you can stick your hands and knead the ingredients. Knead for about 5 minutes until you have a dough that is soft and a little sticky.
When the dough is ready, drain the husks and shake them a little before putting them on a colander sitting on a plate to catch any dribbles of water left. Place the husks on the table with the dough, beans and cheese and get ready to assemble the tamales!
The next part is probably the most annoying bit of the whole process, which is to choose a corn husks that is wide enough to be able to use for a tamal. The husks are triangular in shape, you need the husks to be at least 10 cms wide on the base of the triangle to make it work. It's all about getting the right husk every time! When you have enough practice, you'll learn that two smaller or narrower husks can be overlapped to make a big one and a huge husk can be split into two, but at the beginning, while you nail down the technique of tamal making, be picky and only choose wide husks.
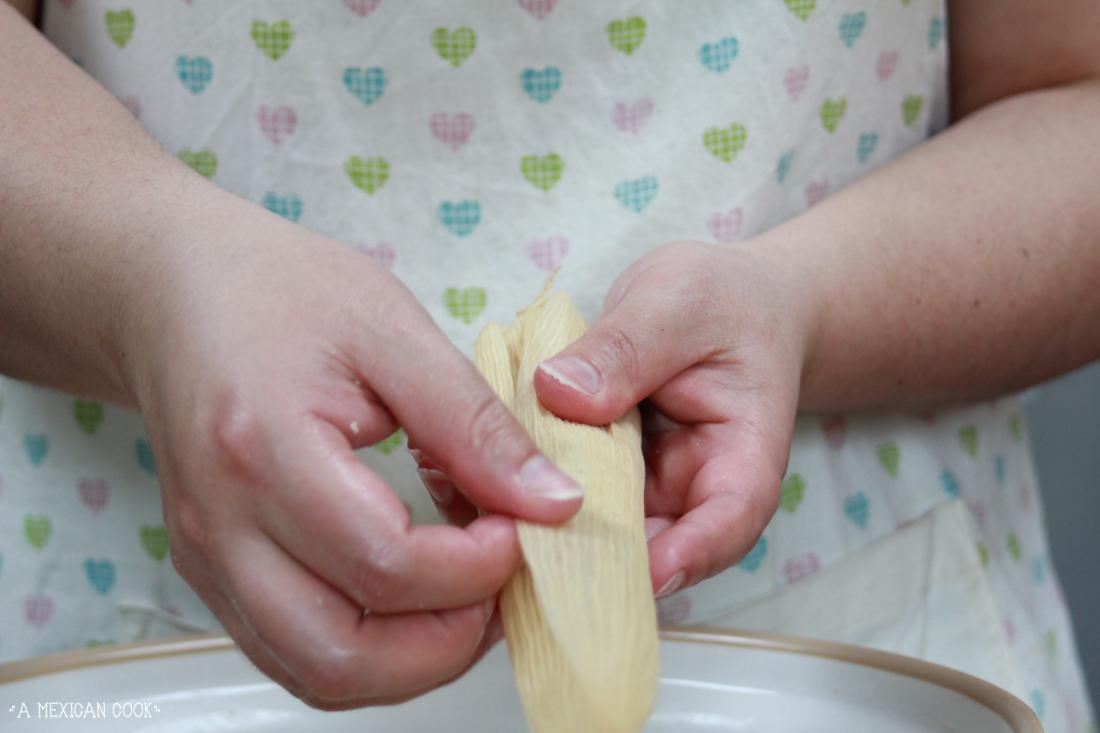
Please note that husks have a smooth and a rigged side, so you will always use the smooth side of the husk (naturally curves into it) to put the dough on and for the purpose of this recipe, you also need to be aware of the narrow and the wide ends of the husk. Keep this in mind for the next step!

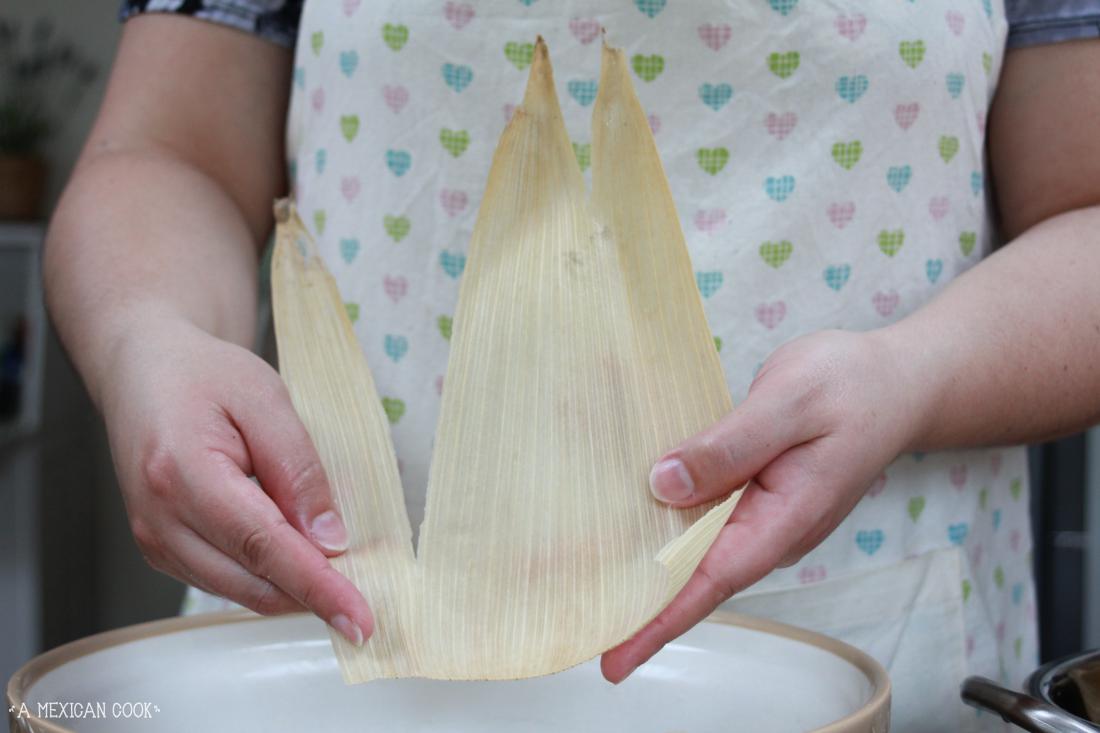
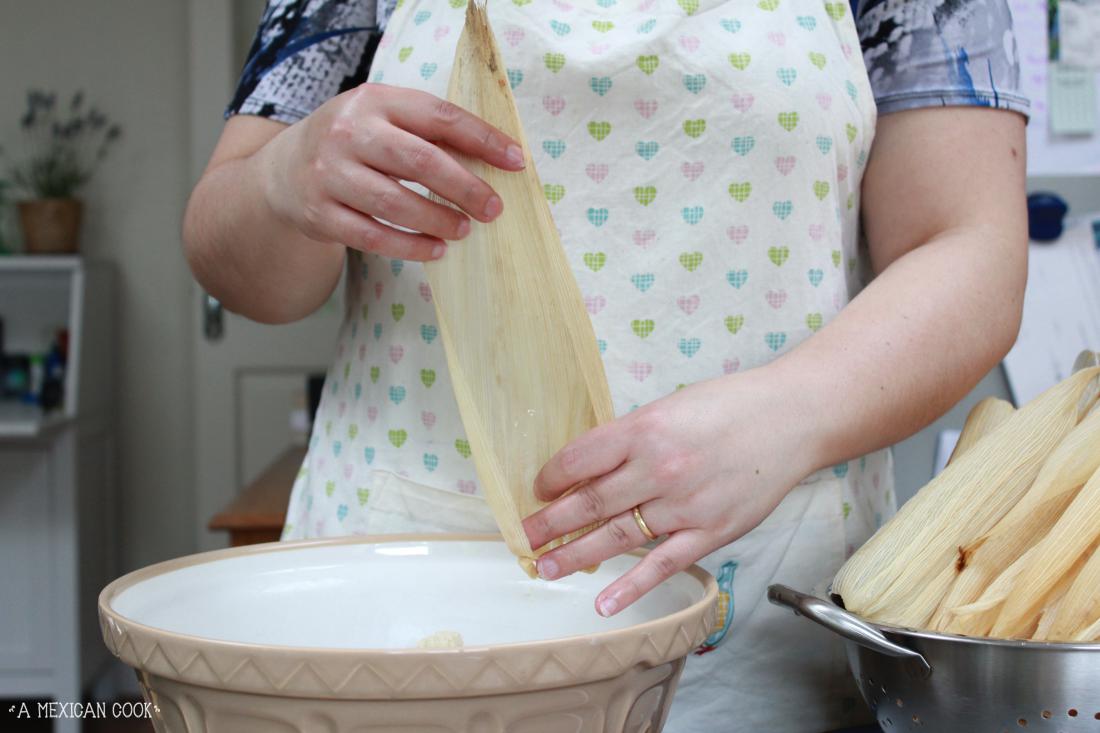
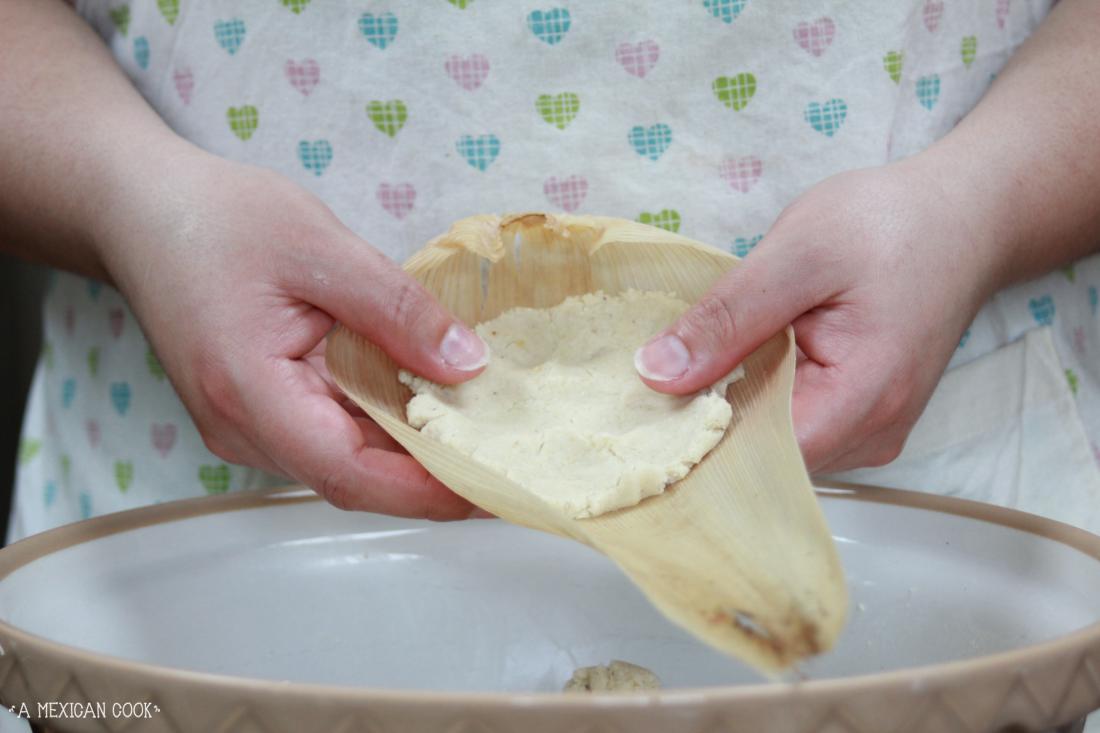
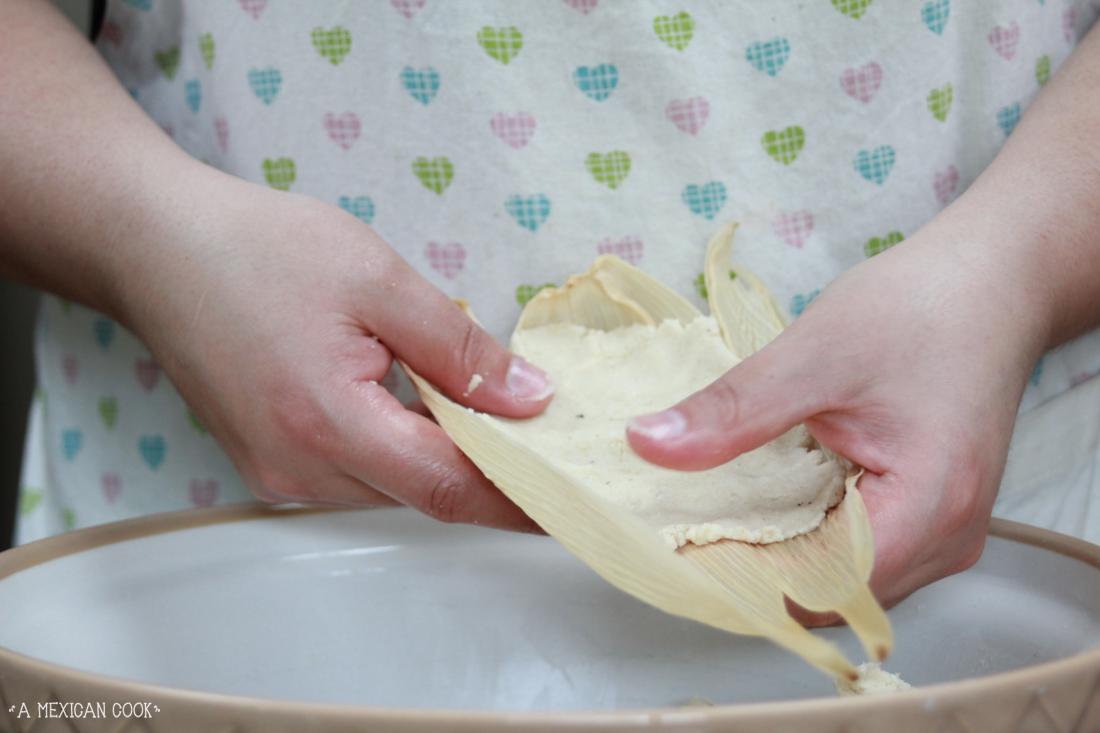
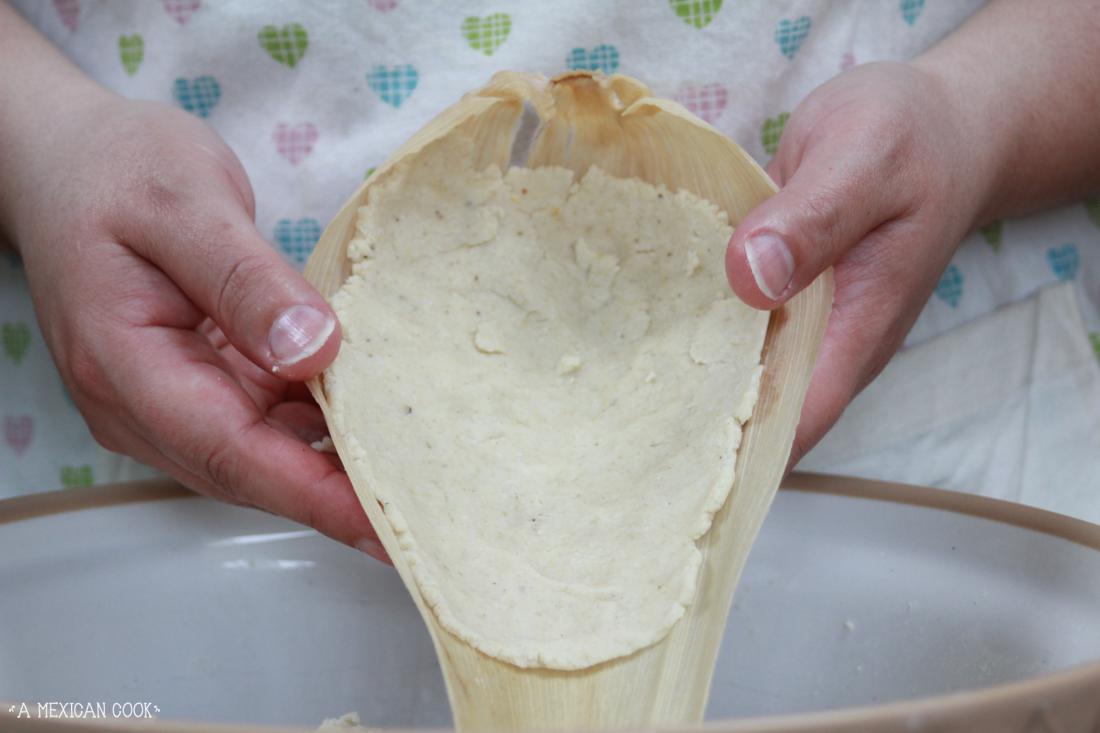
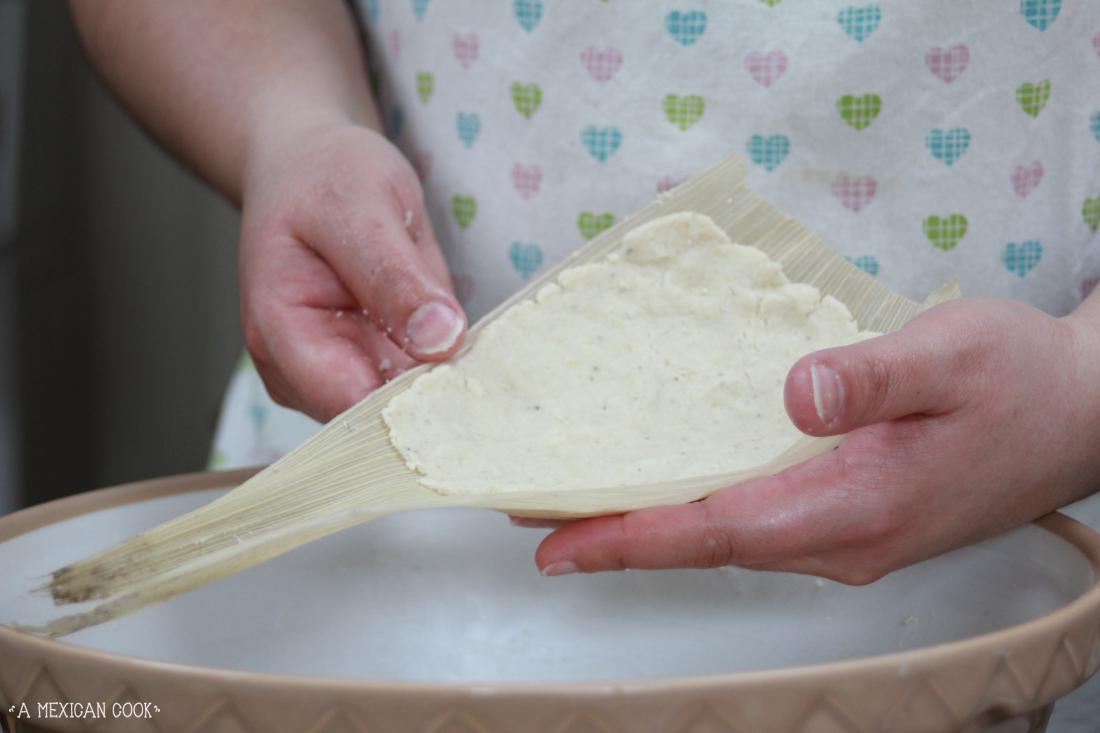
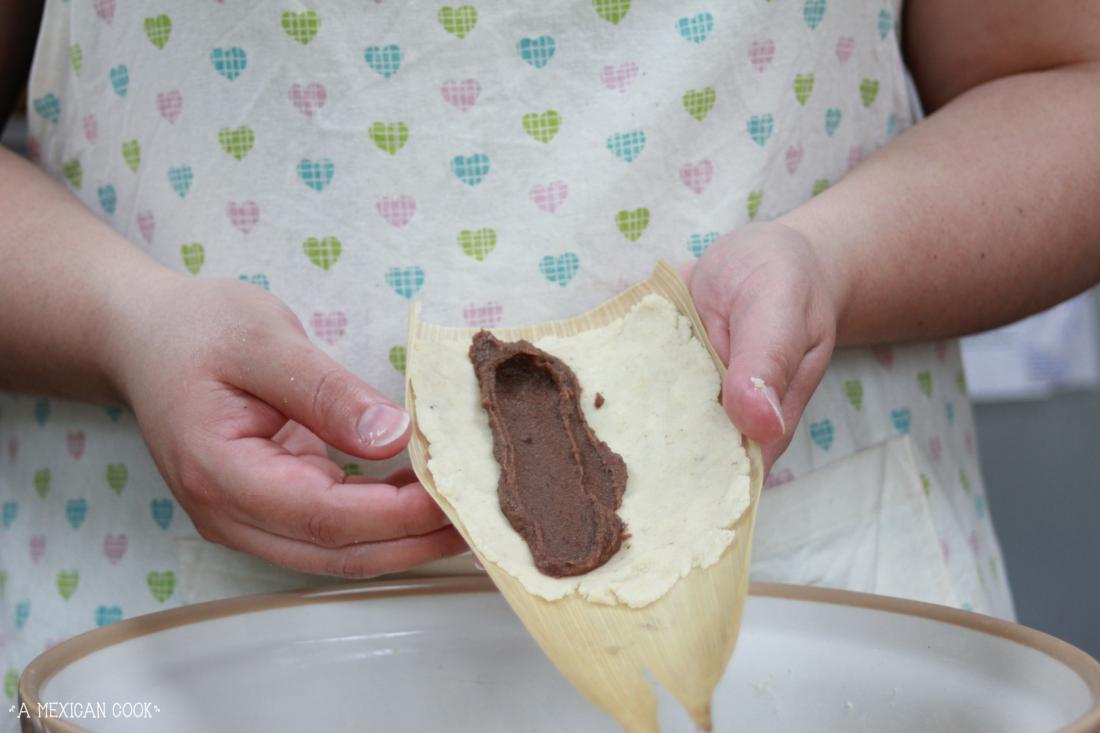
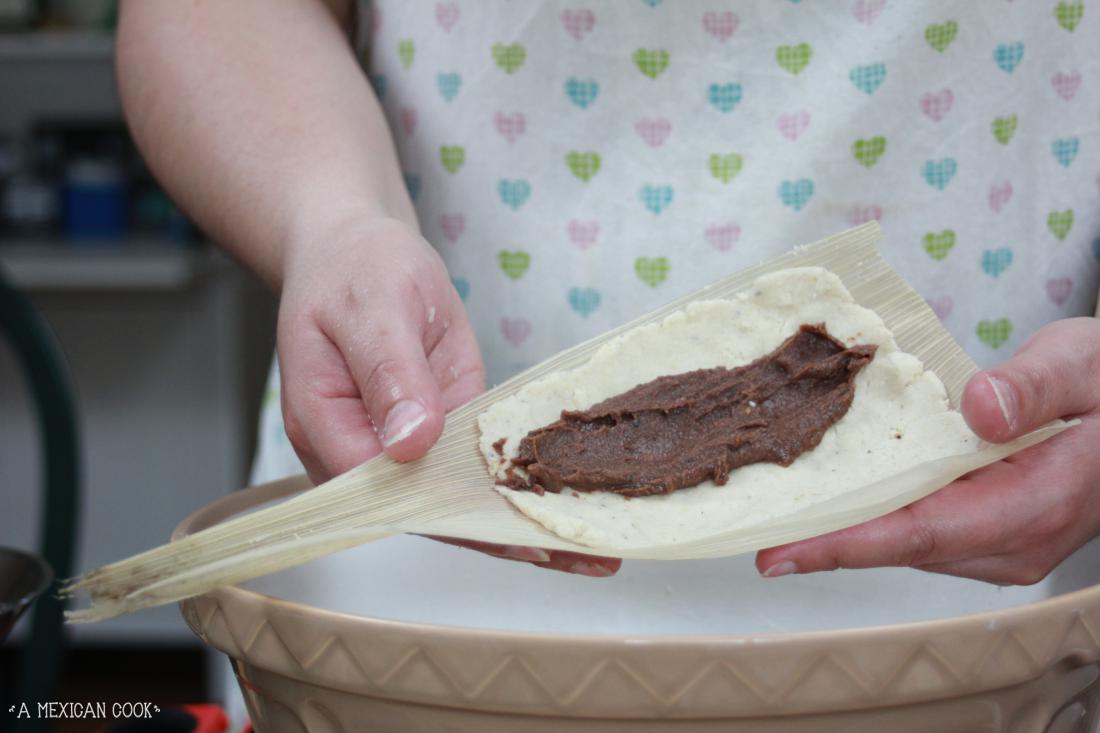
Husk chosen, take it on your hand, narrow end pointing away from you. Take a generous amount of dough, enough to cover 2 thirds of the husk, and using your thumbs, spread the dough thinning it out to about 1/4 inch in thickness. Don't spread the dough as far as any of the sides. Leave a quarter of an inch dough free at the wide end the husk and the sides of the husk (this will allow for the dough to expand without leaking out of the husk. Go as far as the husk starts narrowing down (this will allow you to fold the tamal properly).
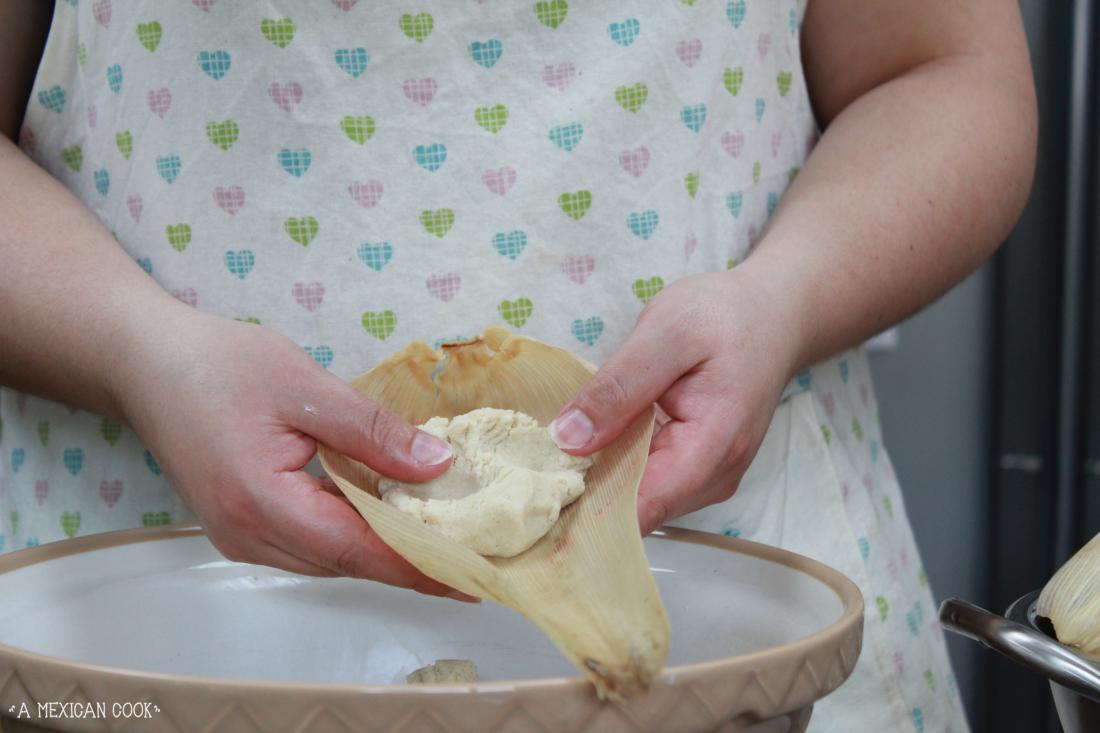
Take a generous spoonful of spiced refried beans and spread them vertically on the dough; I go a little off centre to the right to be able to comfortably fold the tamal. Follow by adding a couple of slices of goat's cheese on top of the beans.
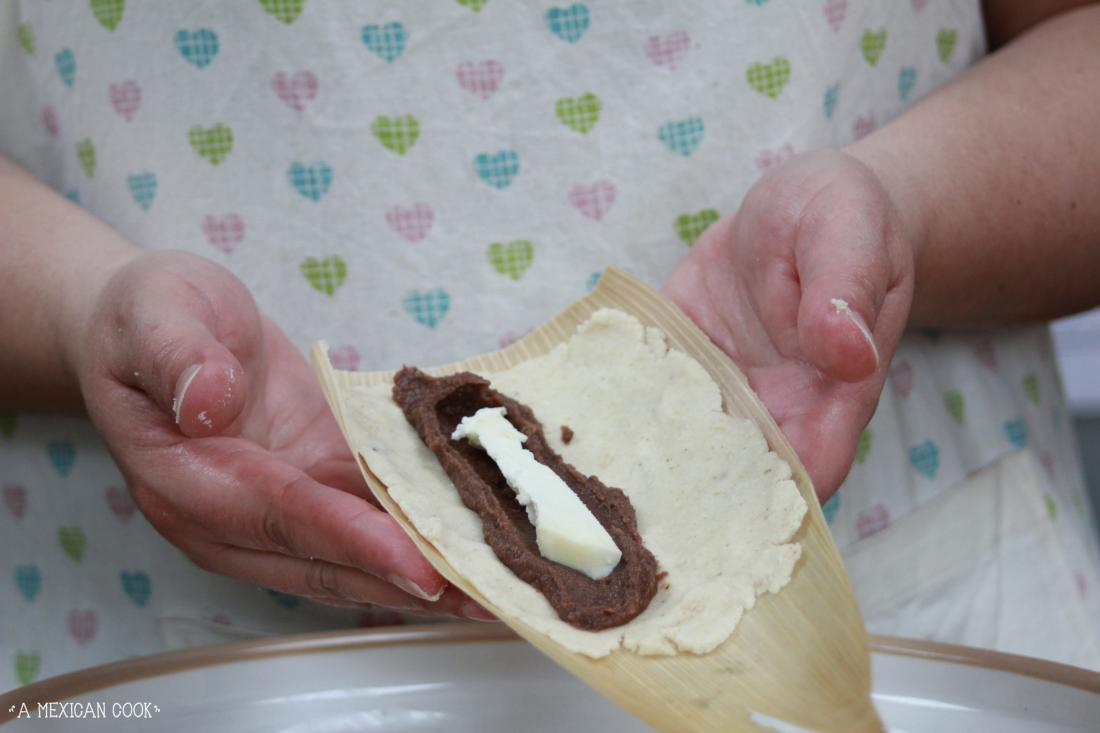
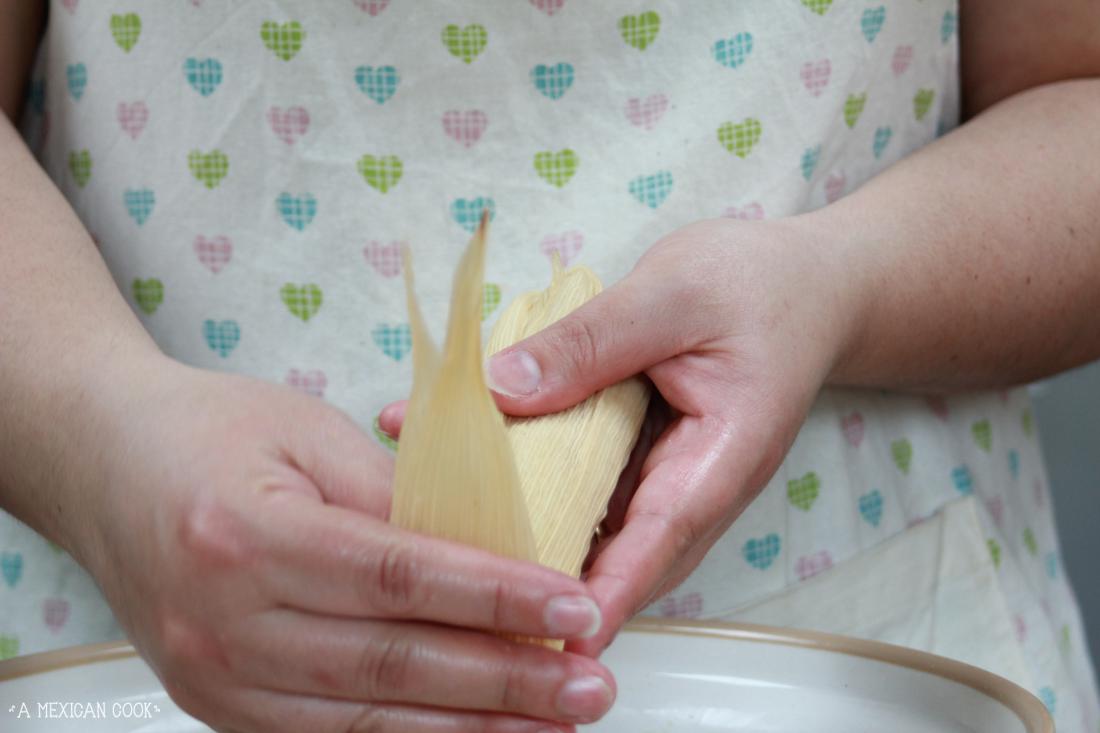
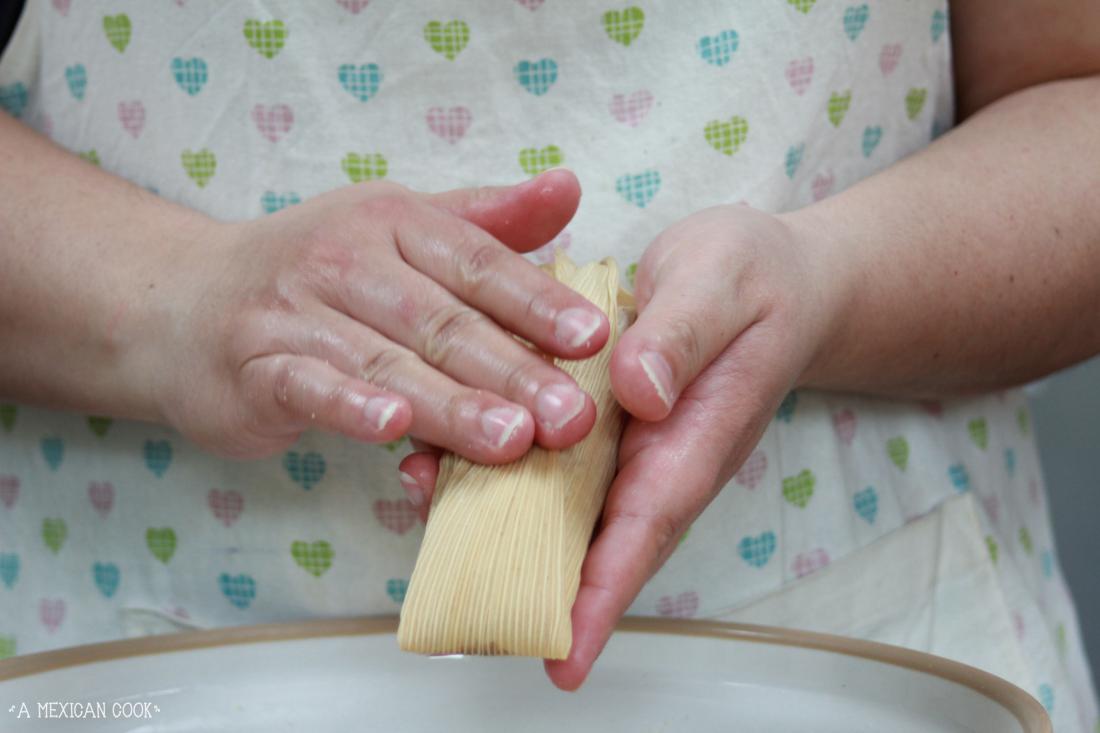
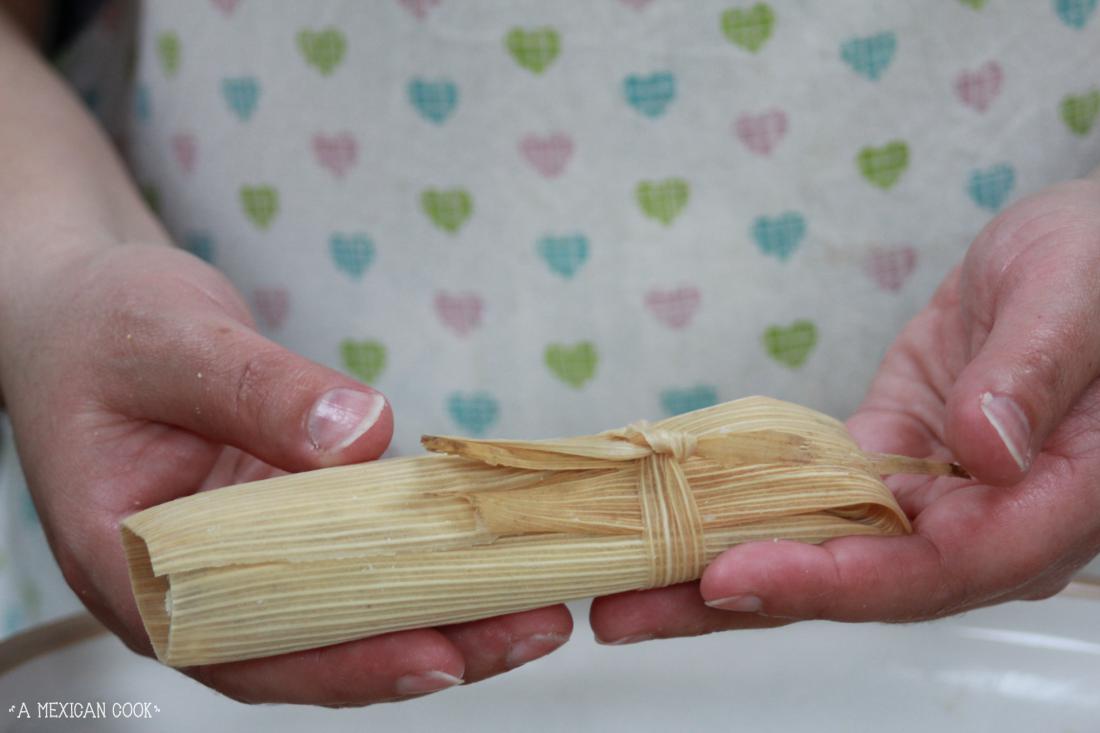
Now we need to fold the tamal. Take the right hand side of the husk and fold it to the centre of the tamal. Follow by folding the left hand side of the husk into the centre of tamal, folding it over the righ hand side one you just did. Then take the narrow end of the husk, the one pointing away from you, and fold it upwards towards you; This will cover the two other folds. Use some discarded bits of husk to make a belt to secure all folds in the husk. Set it aside on a plate. Repeat steps 6 to 9 until you have used all your dough and filling.
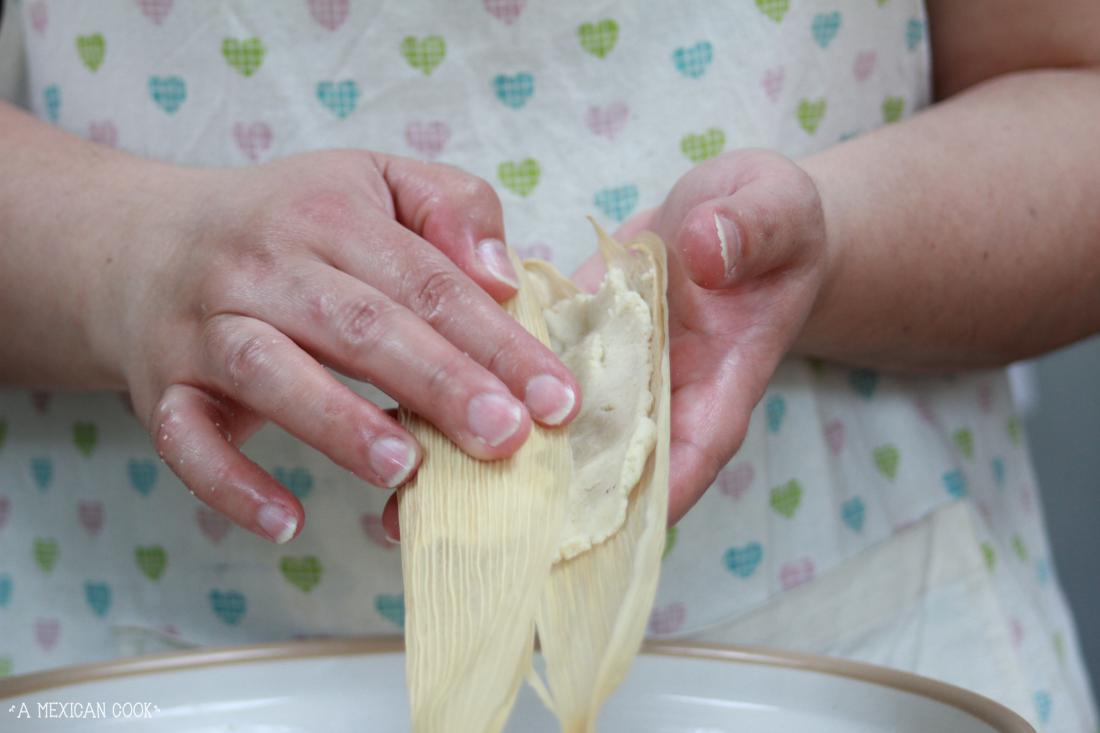
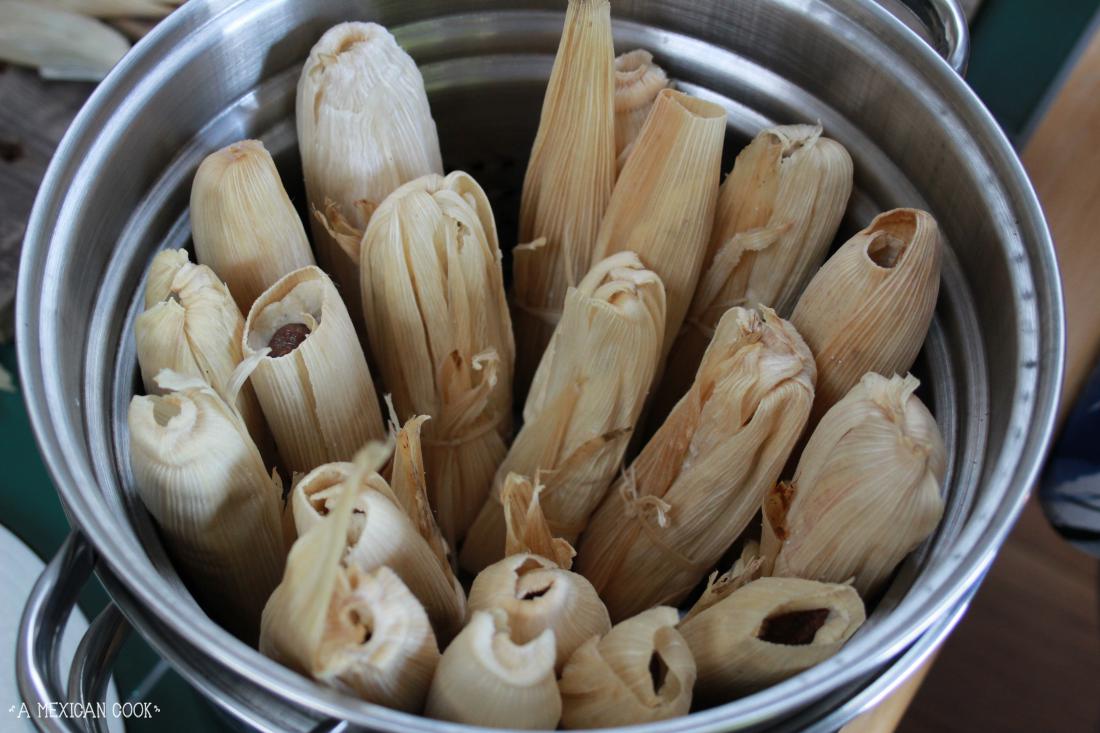
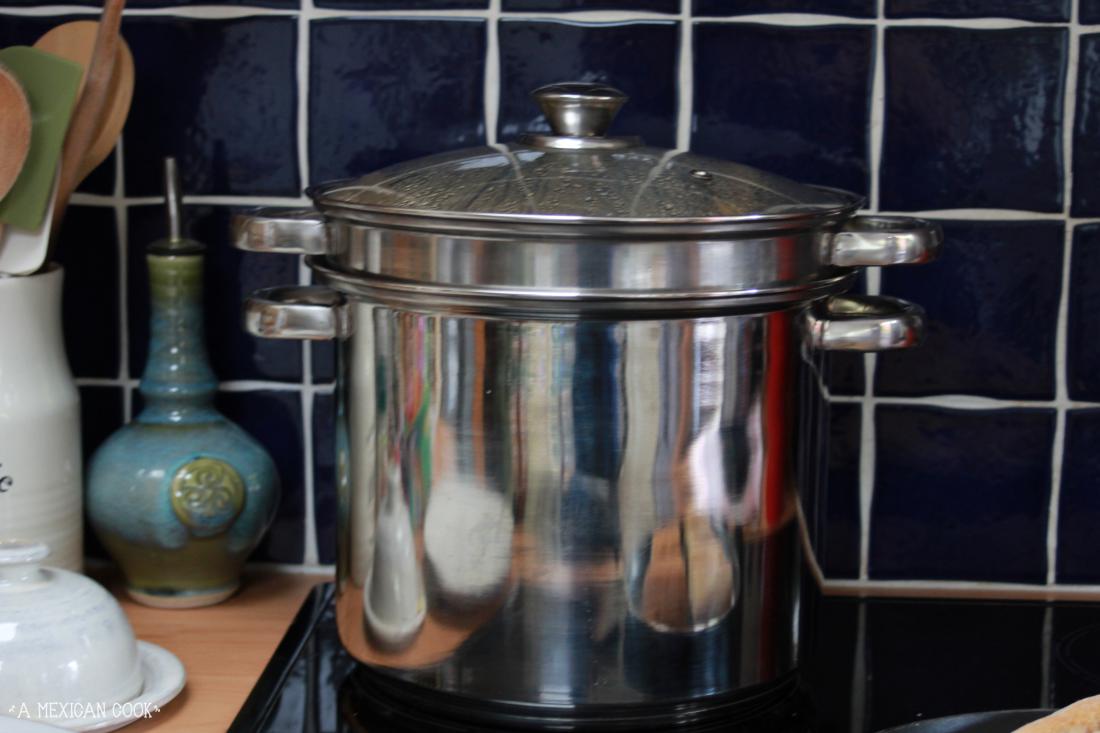
Put some water in your steamer and turn the heat to medium high. Place all the tamales in the steamer basket standing up (opened side facing the lid of the steamer) and put the steamer lid on. Placing the tamales standing is super important as it helps them keep their shape and not leak out into the steamer! Bring the water to a boil and steam your tamales at medium heat for about 1 hour or until they are cooked. After the hour, you can carefully take one out using kitchen togs and attempt to unwrap the husk. If the husk comes clean off the dough, your tamales are ready! If not, return the tamal to the steamer and steam for another 20 minutes before checking again. It shouldn't be more than 1 hour and 20 minutes.
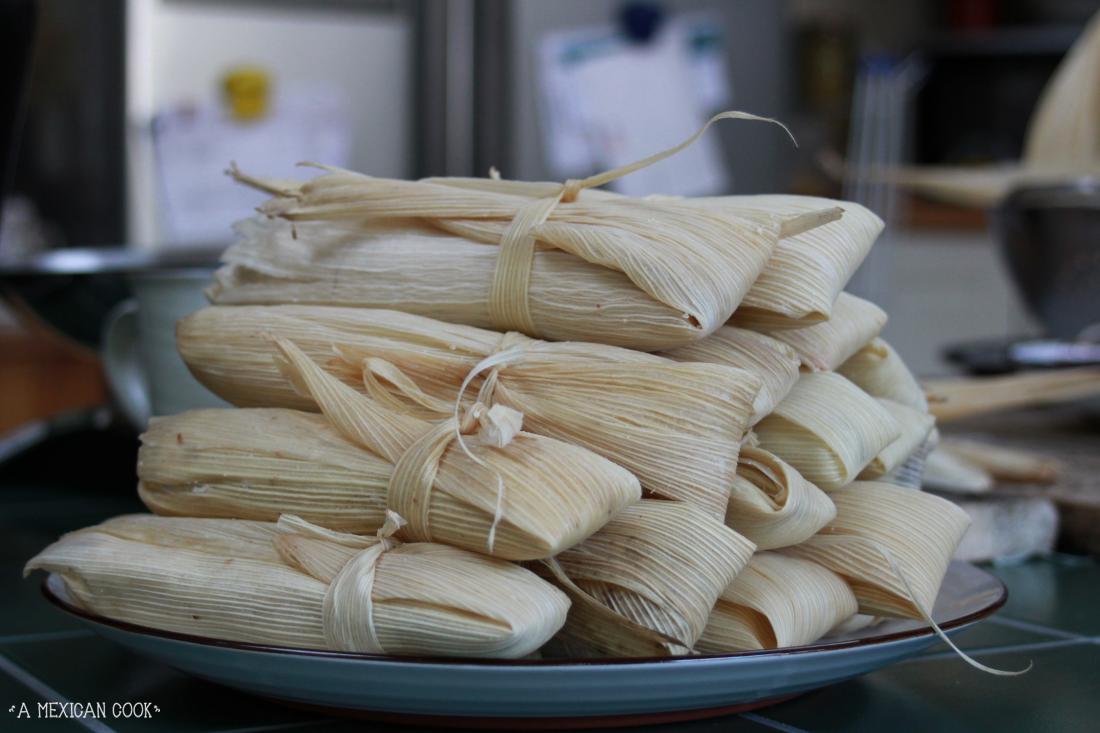
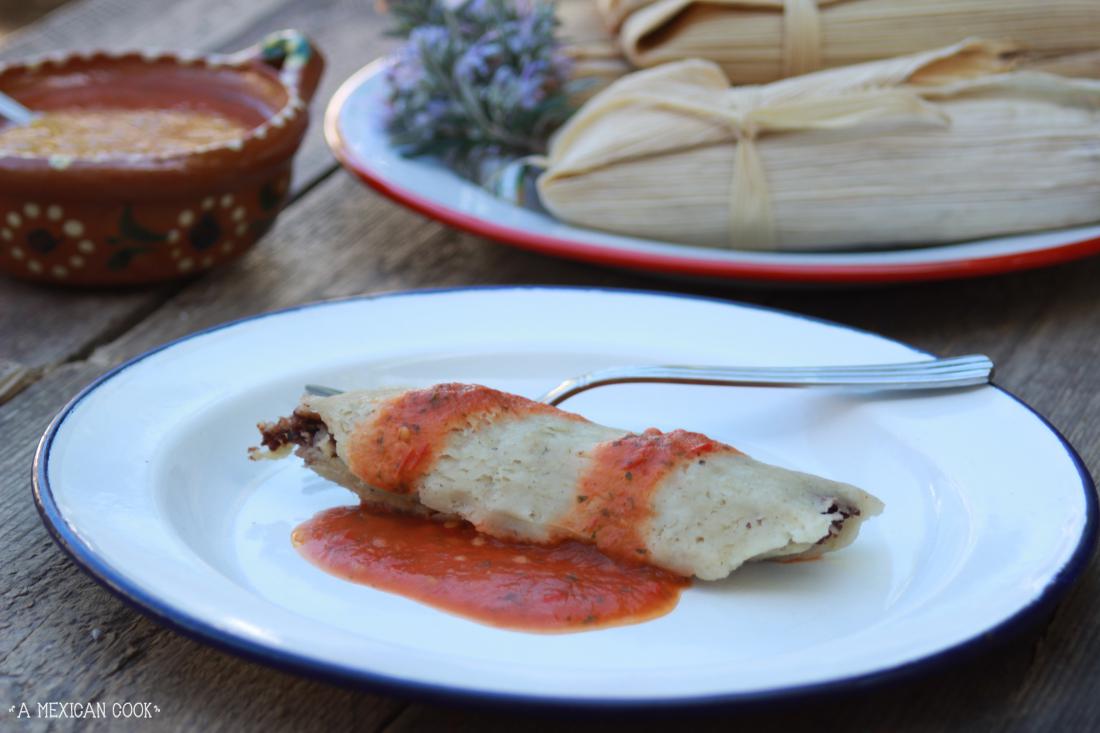
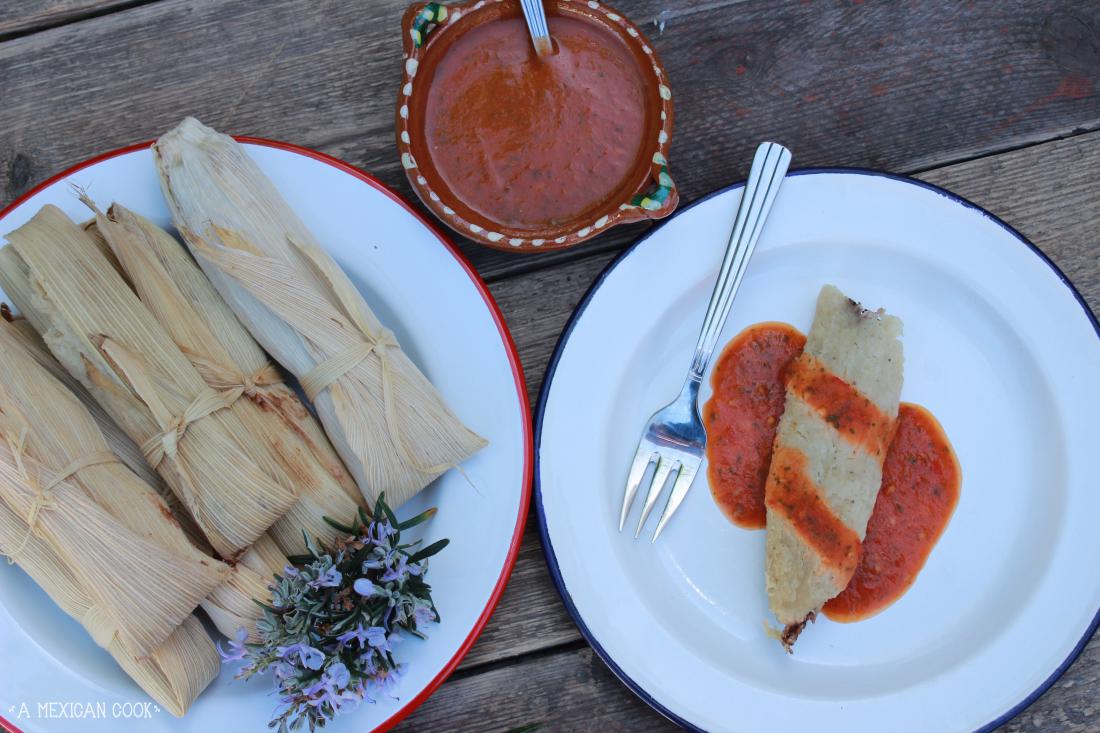
There you have it, this is the 5001 version of Mexican Tamales ready to eat! Serve them hot with a generous amount of your favourite salsa (I love my home made salsa roja). If you are not eating them straight away, take them out of the steamer into a cooling rack and let them cool down completely. They freeze really, really well; just make sure they're completely cold before putting them in plastic bags and into the freezer. Thaw them out in a couple of hours on the kitchen counter (minus the plastic bag). They also keep well in the fridge in a plastic container with a lead on (or a well sealed plastic bag) for up to a week. Re-heat your tamales in the microwave for 2 or 3 minutes or on a dried skillet or pan for 5 minutes (making sure you turn them half way through). Freeze, refrigerate, reheat in microwave or in a pan always with husks on. Do not remove the husks until you're about to eat them!

.JPG%EF%B9%96itok=A9e5OFub.jpeg)


