When my parents were here in June, I asked my mother to teach me to make 'gorditas de azucar', which are a cross between a wheat flat cake and a wheat biscuit made in a skillet. They are my dad's favourite 'merienda' (afternoon tea) and mam being the lovely cook she is, makes fabulous ones. Asking mam for a recipe is easy, she's always willing to share her knowledge, the hard part comes when you have to actually write down the recipe. She's an old style cook: a pinch of this and a bit of that is the norm. She cooks by instinct and by tasting everything and she measures nothing. Which is hard if I actually want the recipe to share it here. I am totally convinced she secretly writes the Great British Bake off technical challenges. She recently gave a fellow food blogger a 'recipe' for pickled potatoes, and the poor woman had to go and figure out the whole thing herself! I now have someone else who understands what I go through.
So when I too get a 'recipe' from mama, I normally watch her cook the recipe and take notes, stopping her at every turn to measure ingredients and to ask questions. Then I have a go at making it myself a few times until I get the recipe to work and flow on a page. Phone recipes are a bigger change for obvious reasons! However, she was here, so I got this recipe the 'easy' way. These sugar gorditas took a couple of goes to get right, but here are the results. Hope you like them!
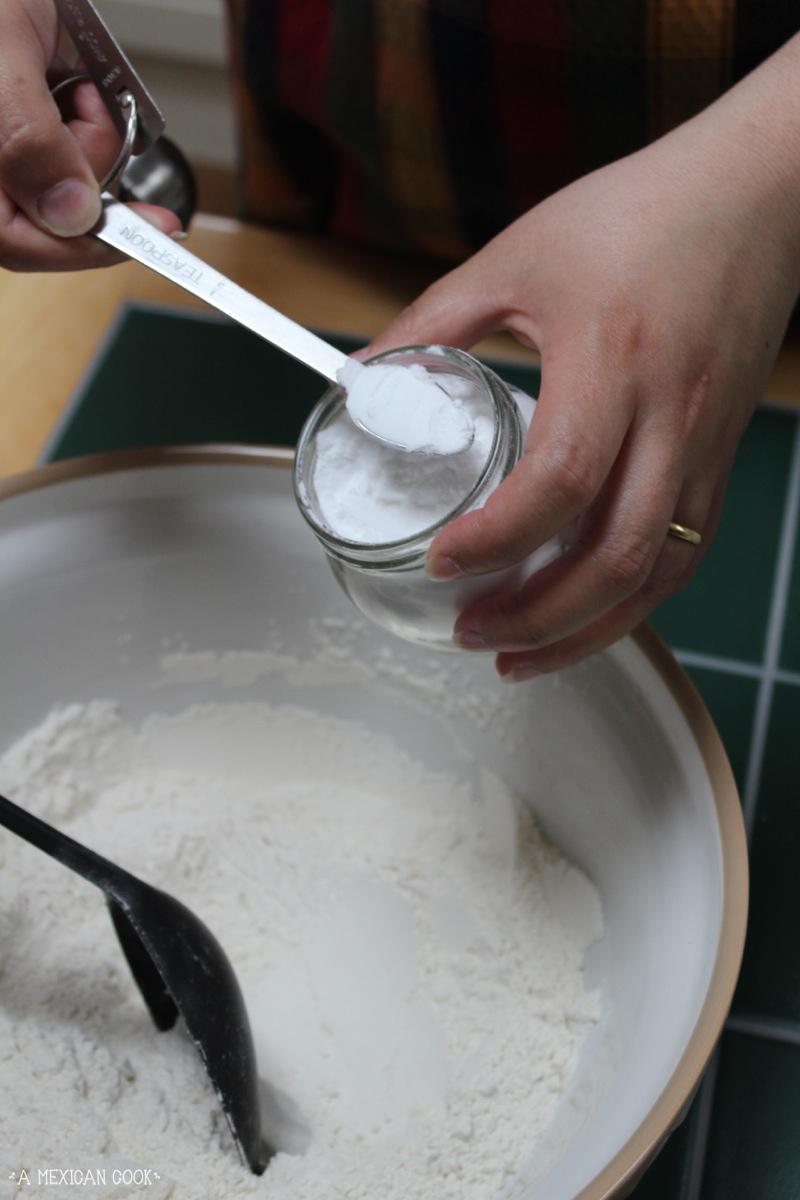
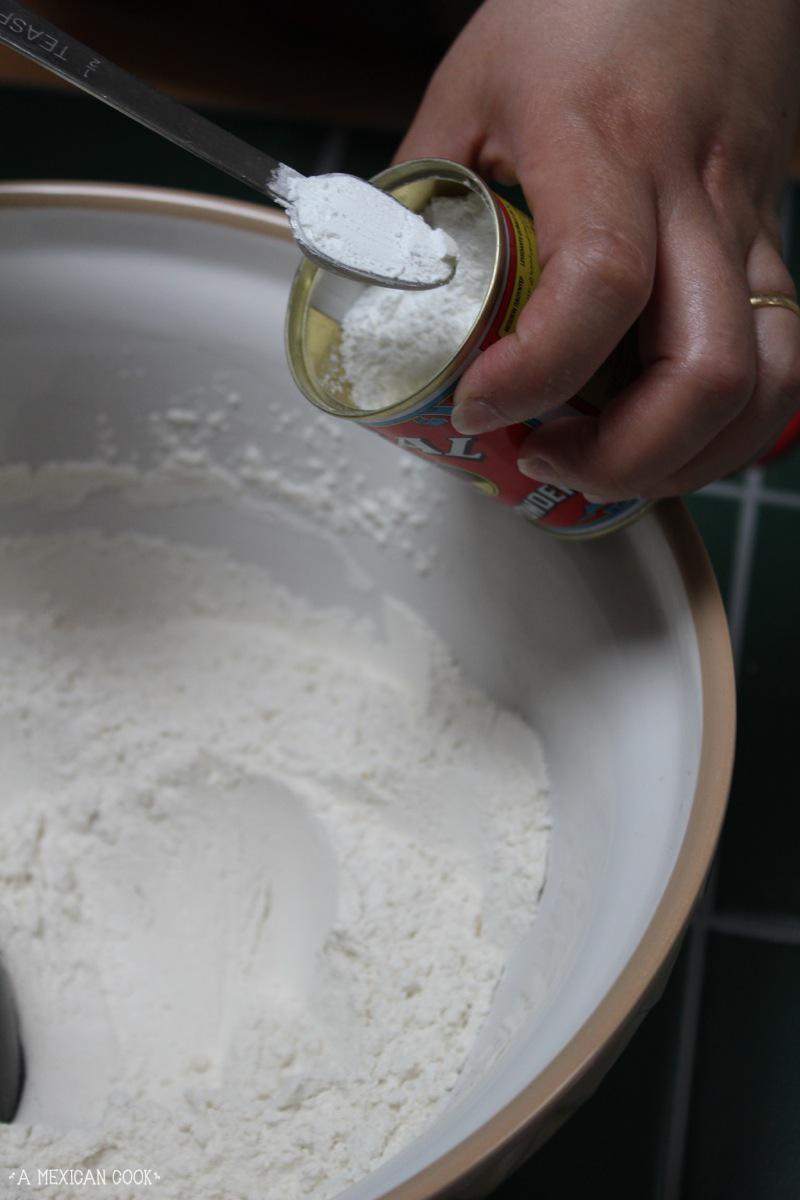
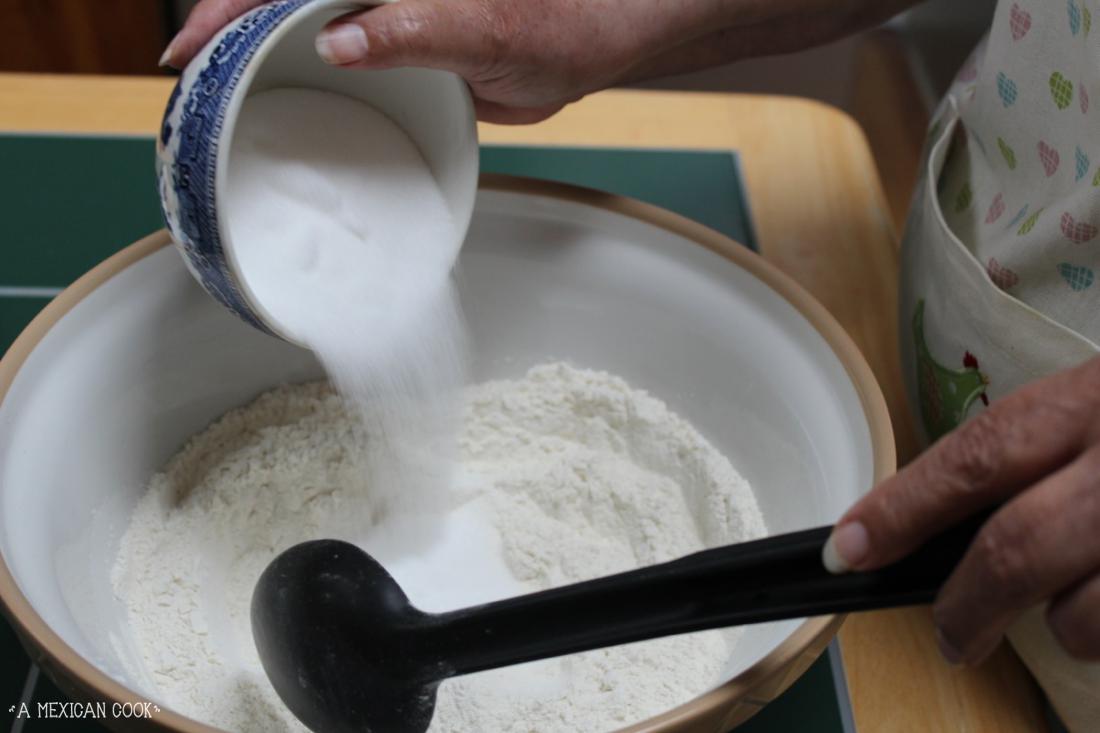
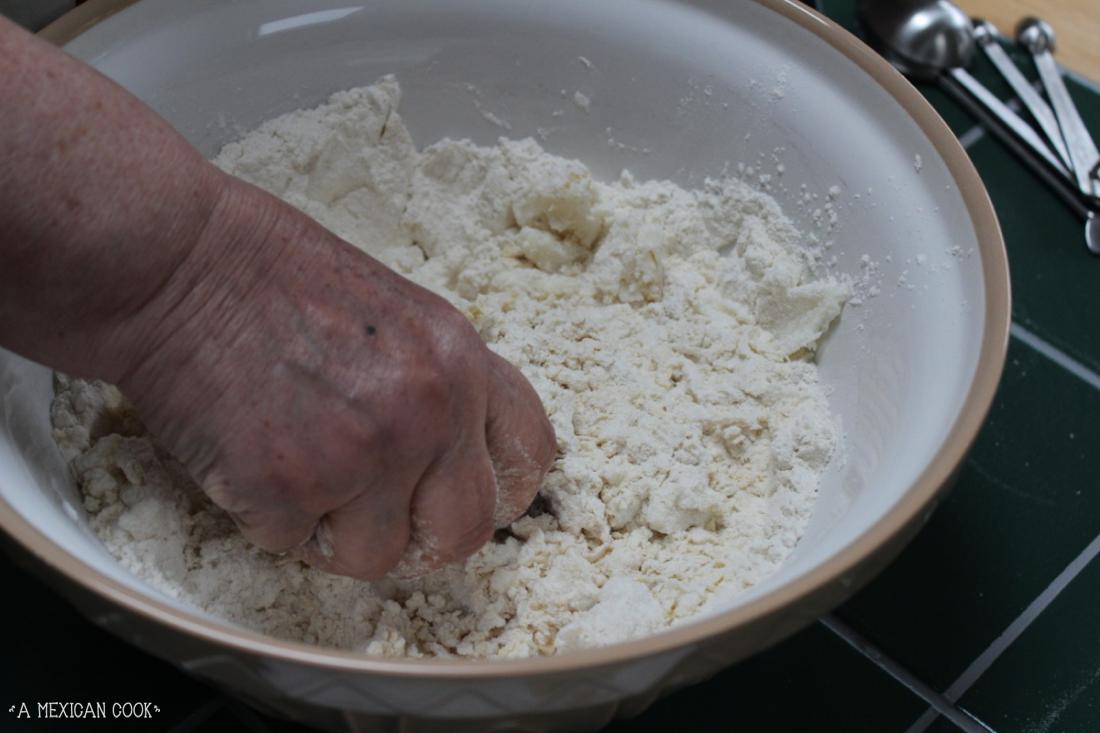
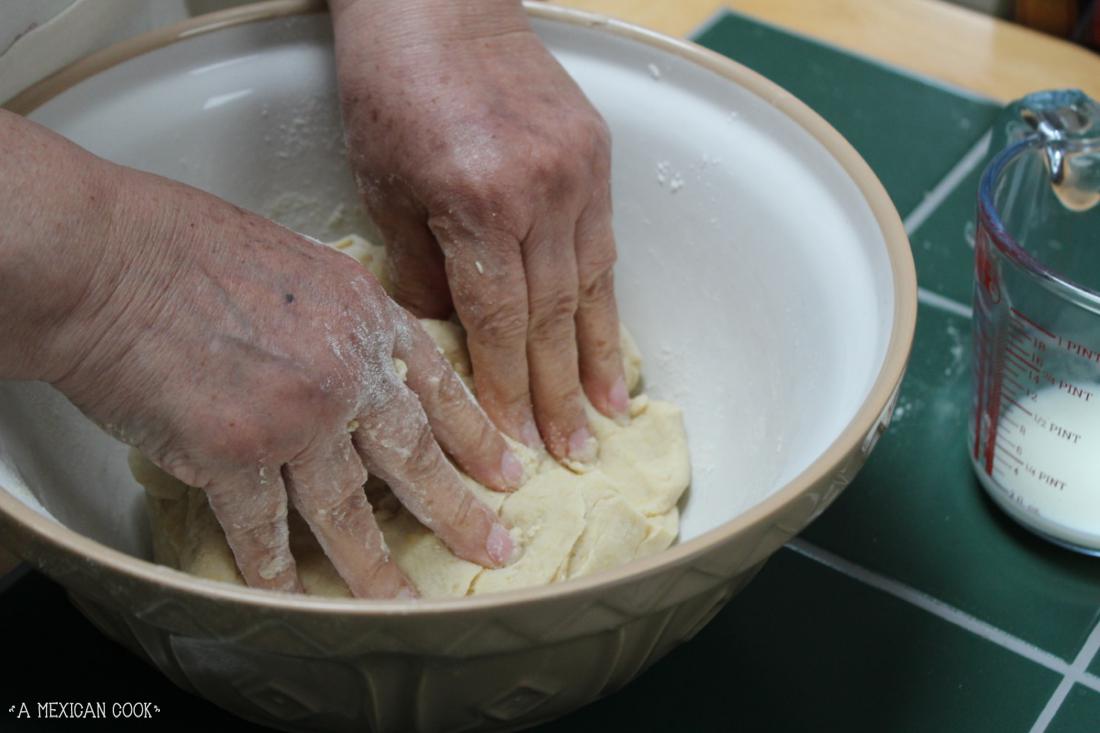
Put the flour, baking powder, bicarbonate of soda, salt and sugar in a good size mixing bowl and mix them well using a plastic spoon or your fingers.
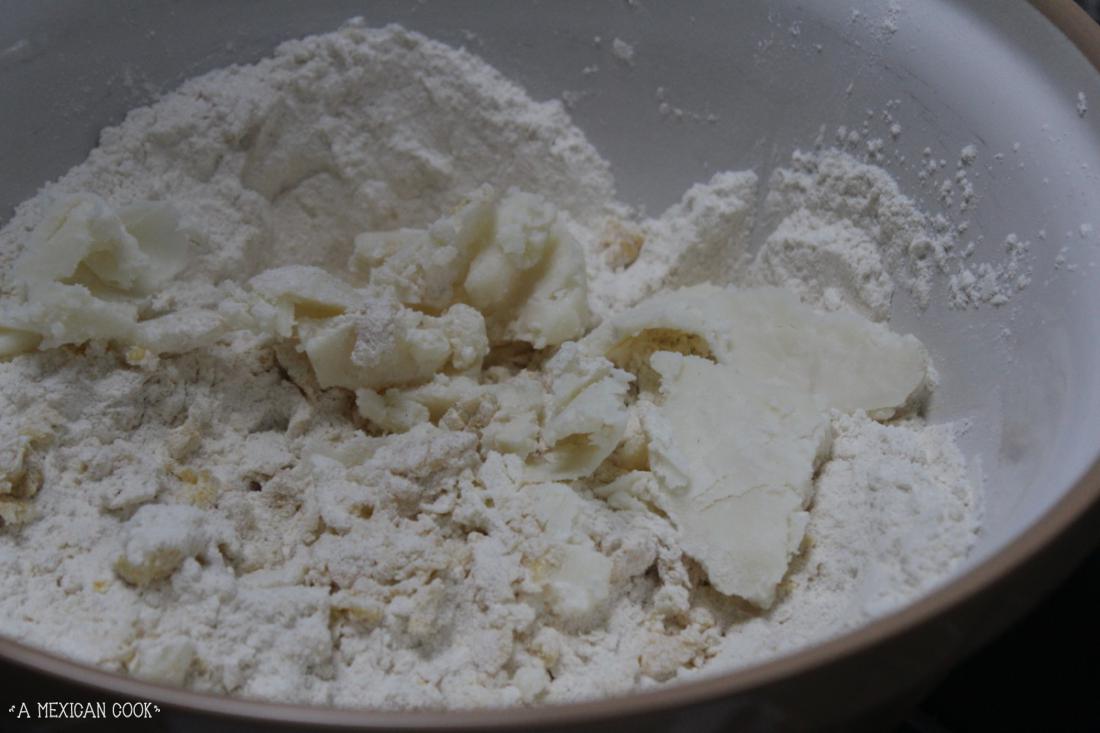
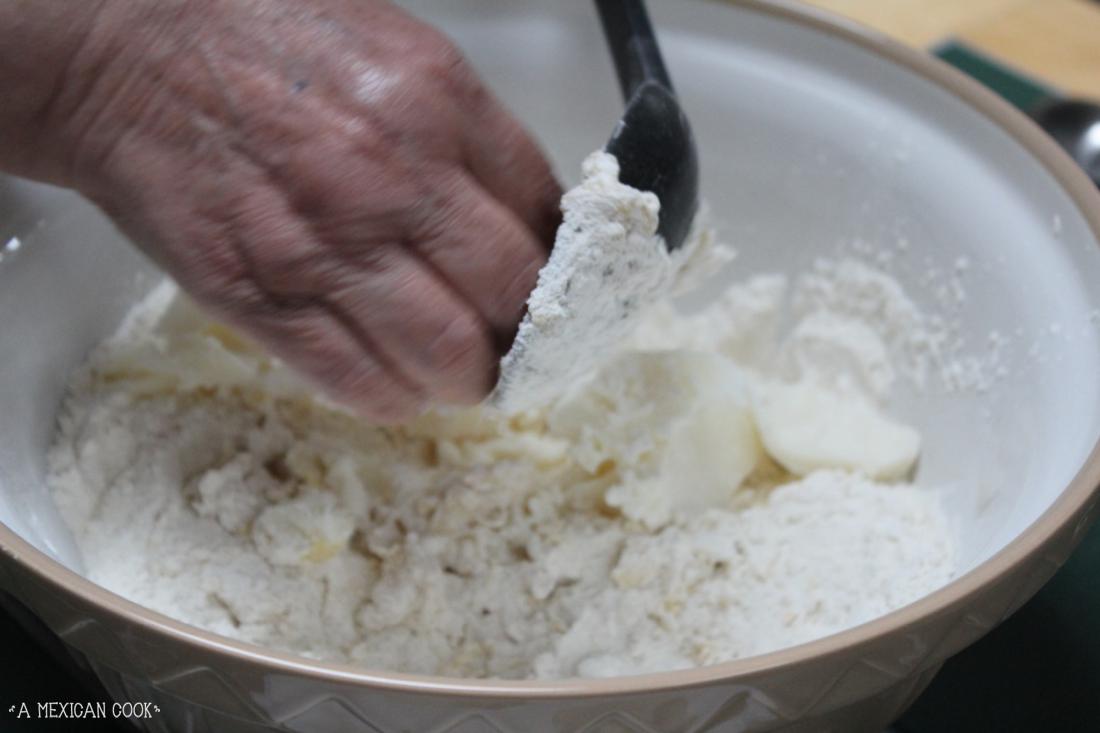
Using your fingers, crumble the cookeen into the dry ingredients and rub them well until the mix resembles bread crumbs.
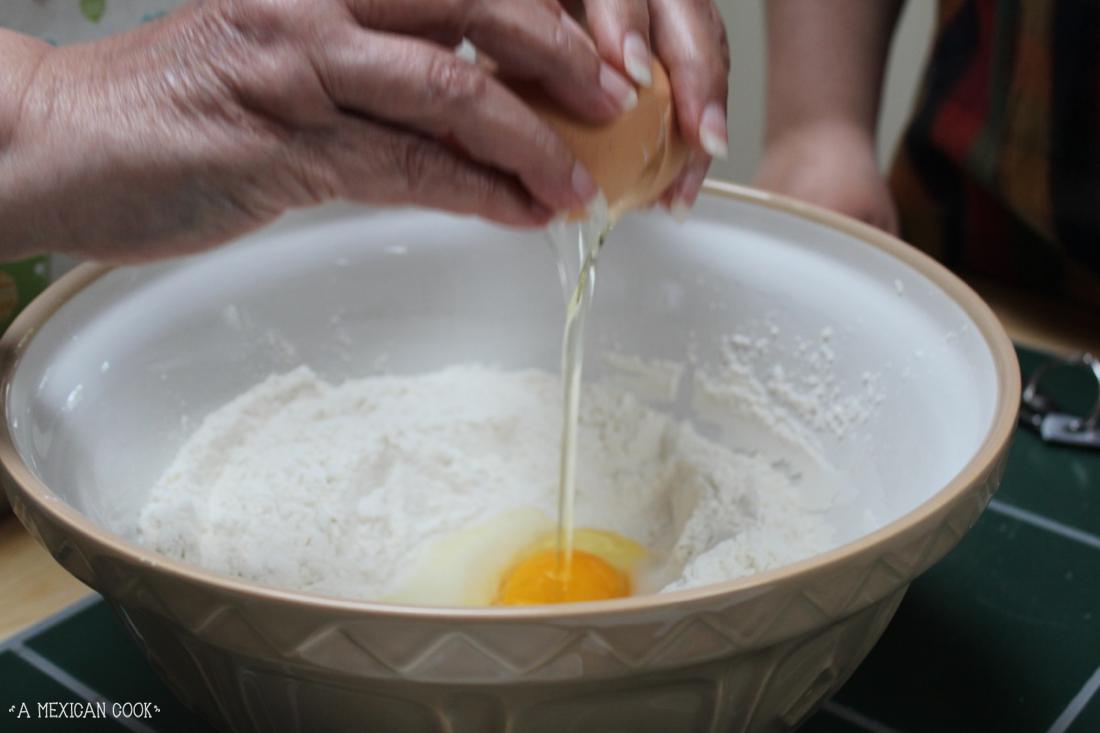
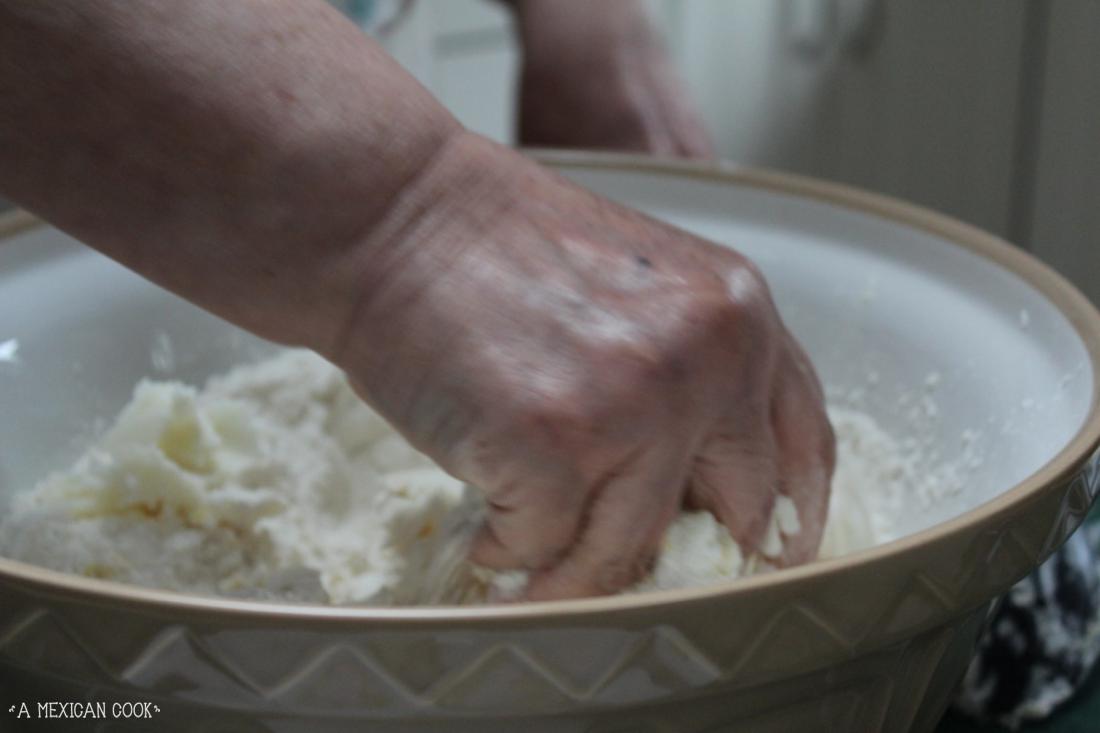
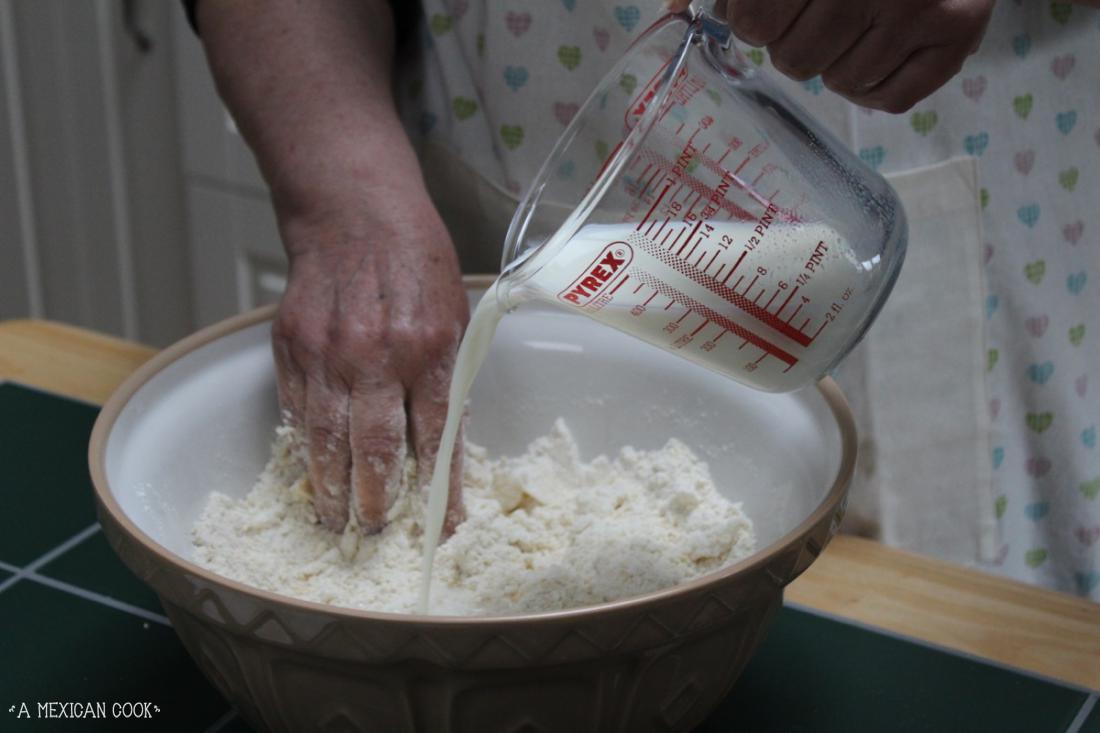
Add the egg and incorporate it well using your fingers. Add the warm milk and knee well until you have a soft, pliable dough, about 3 to 4 minutes.

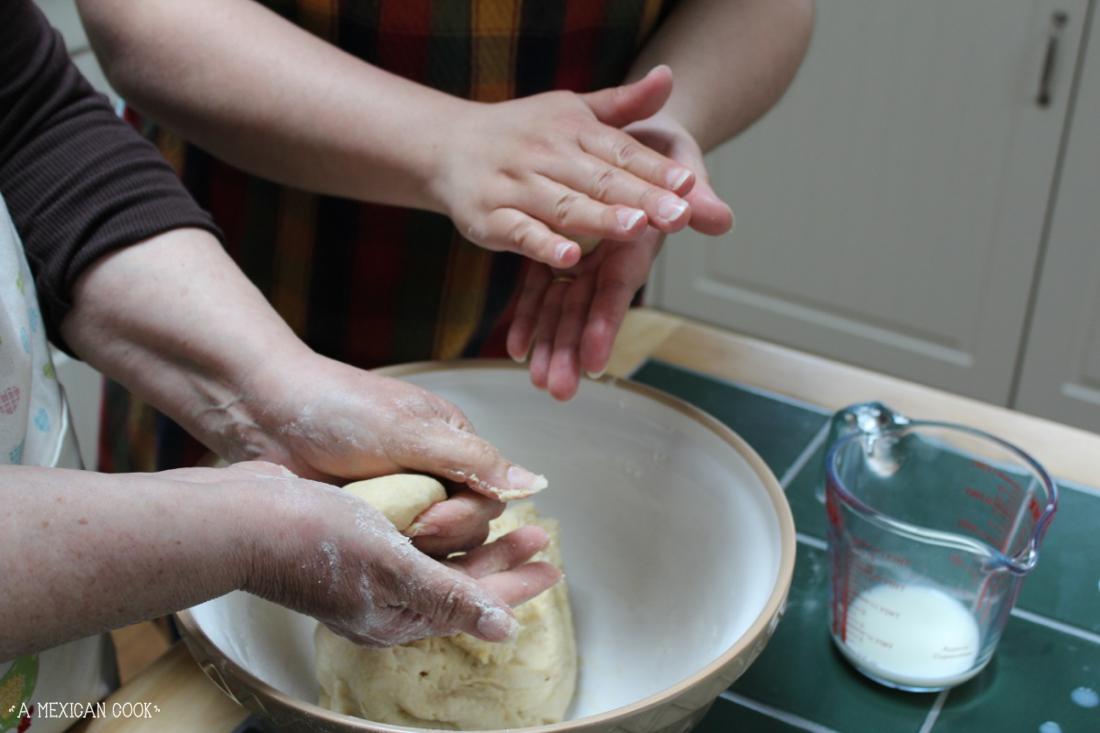
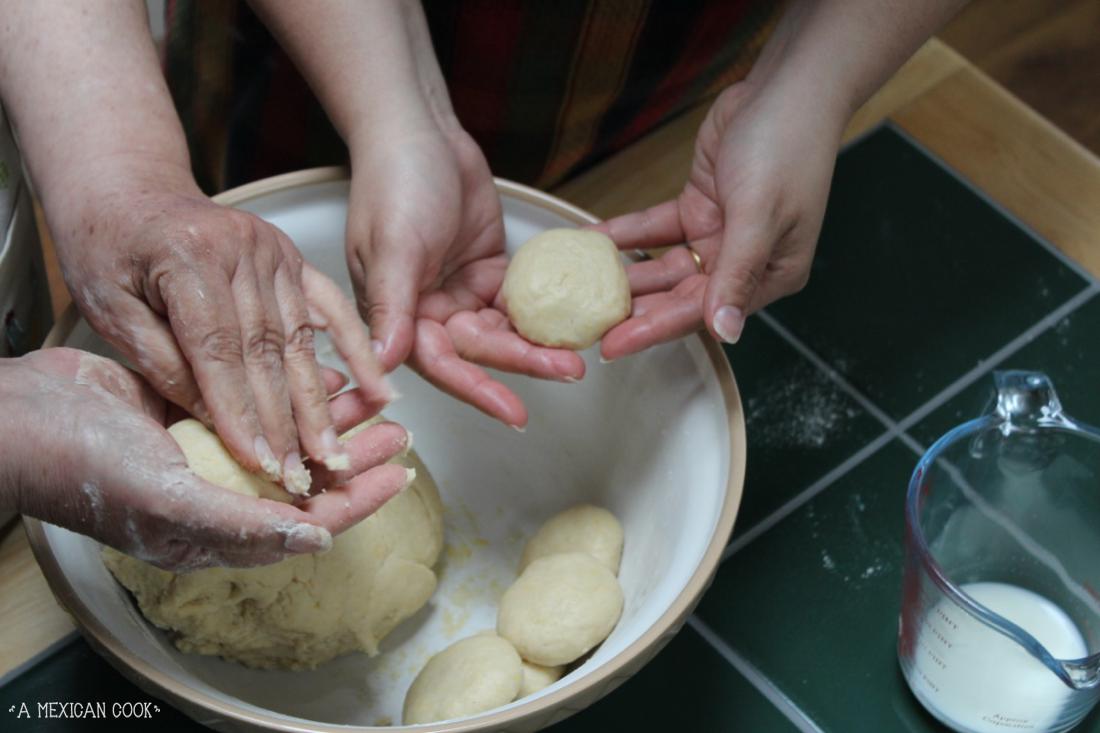
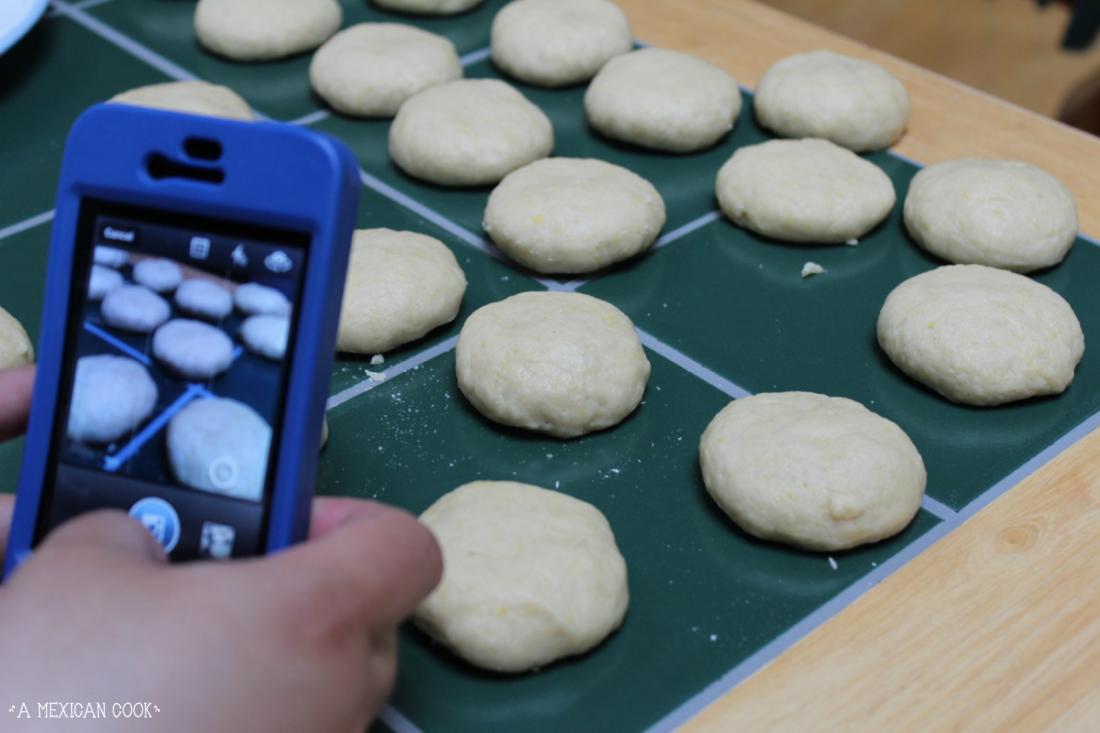
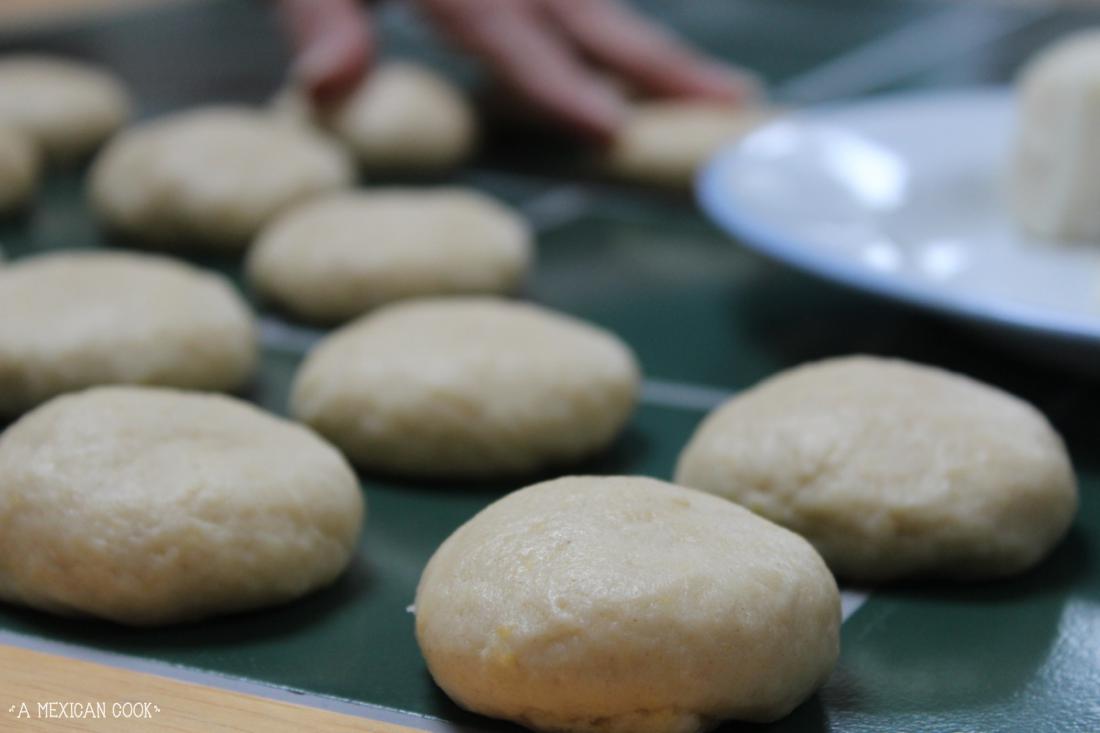
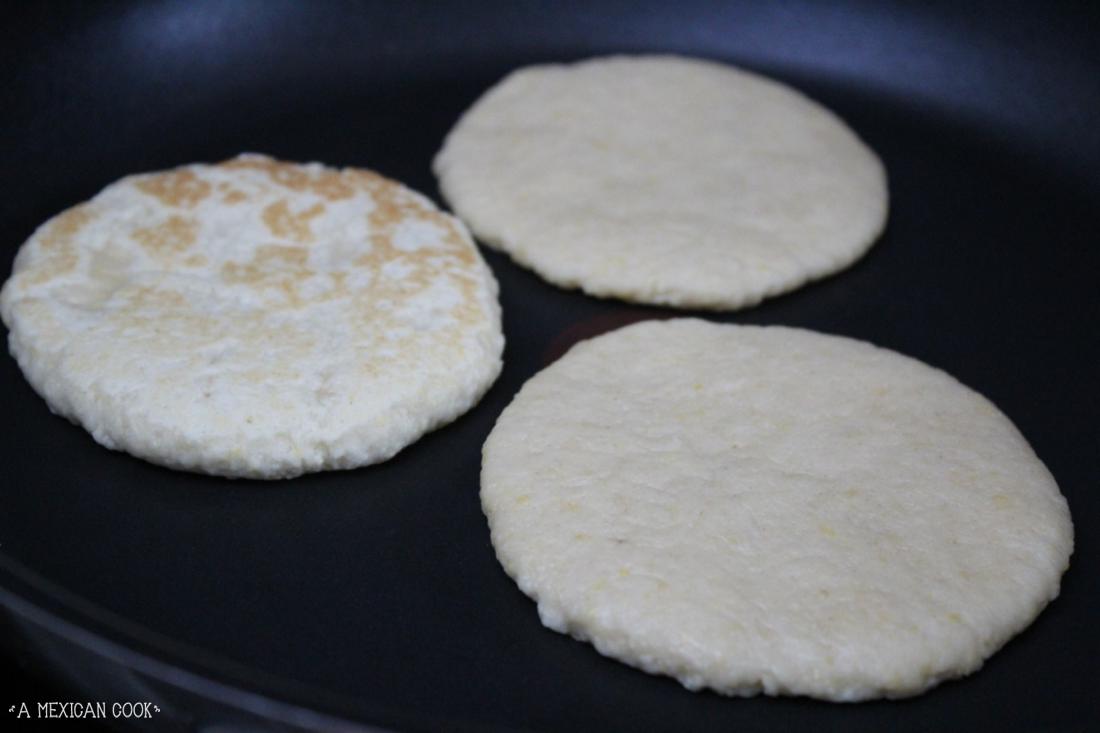
Heat a non-stick pan or a flat skillet on the hob at medium heat. Don't use any oil or butter, these sugar gorditas are cooked dry. While the pan heats, use your hands again to divide the dough into 24 balls about the size of a golf ball; take care of digging your fingers in the bottom part of the ball, to make them a little hollow on the bottom; this will help them dry a little and prevent them from sticking to the surface while they're waiting to be cooked. As you can see from the photos, we placed ours directly on the table and later on on the kitchen worktop.
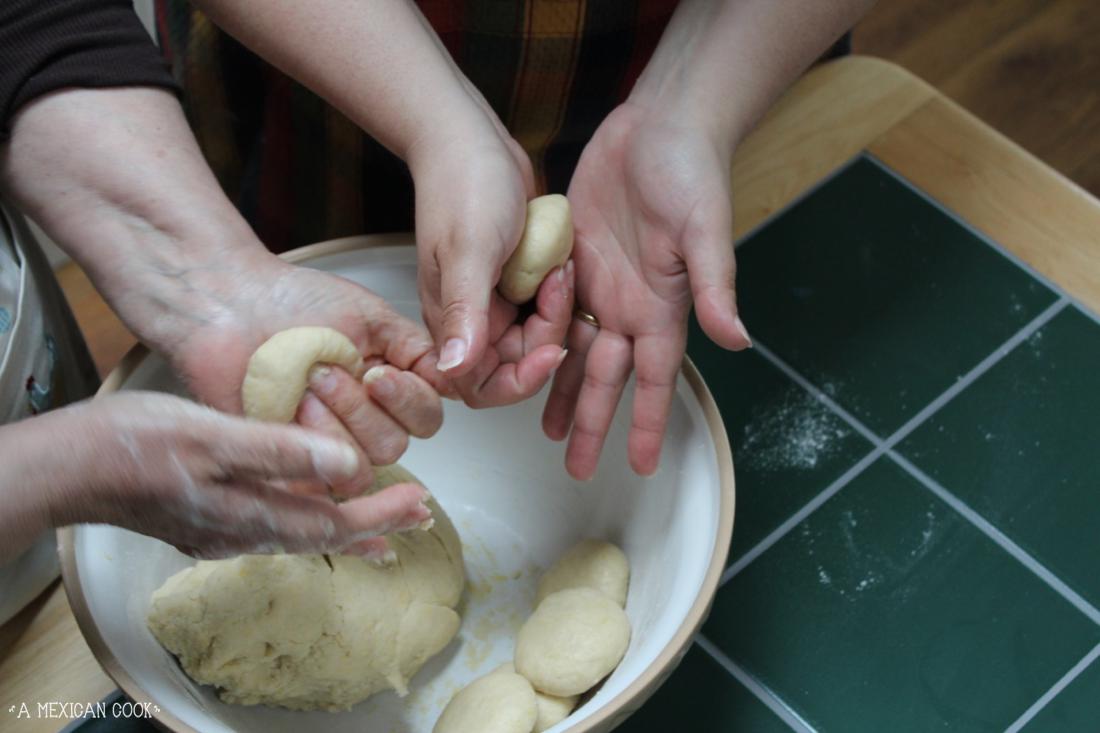
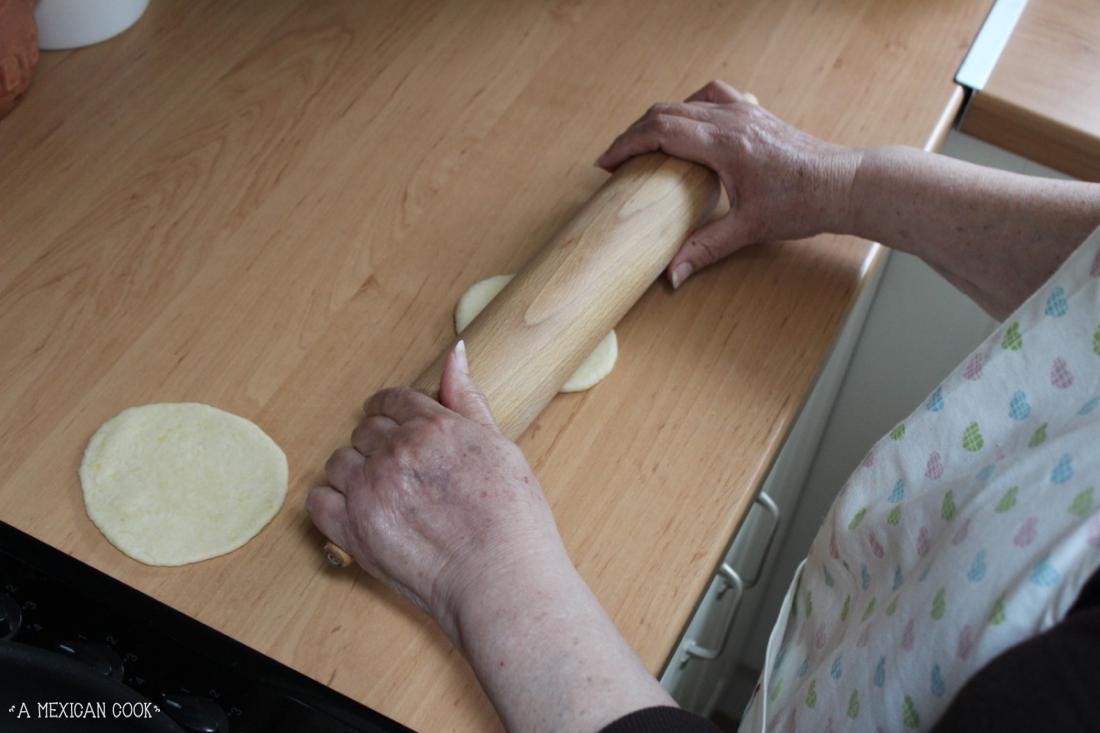
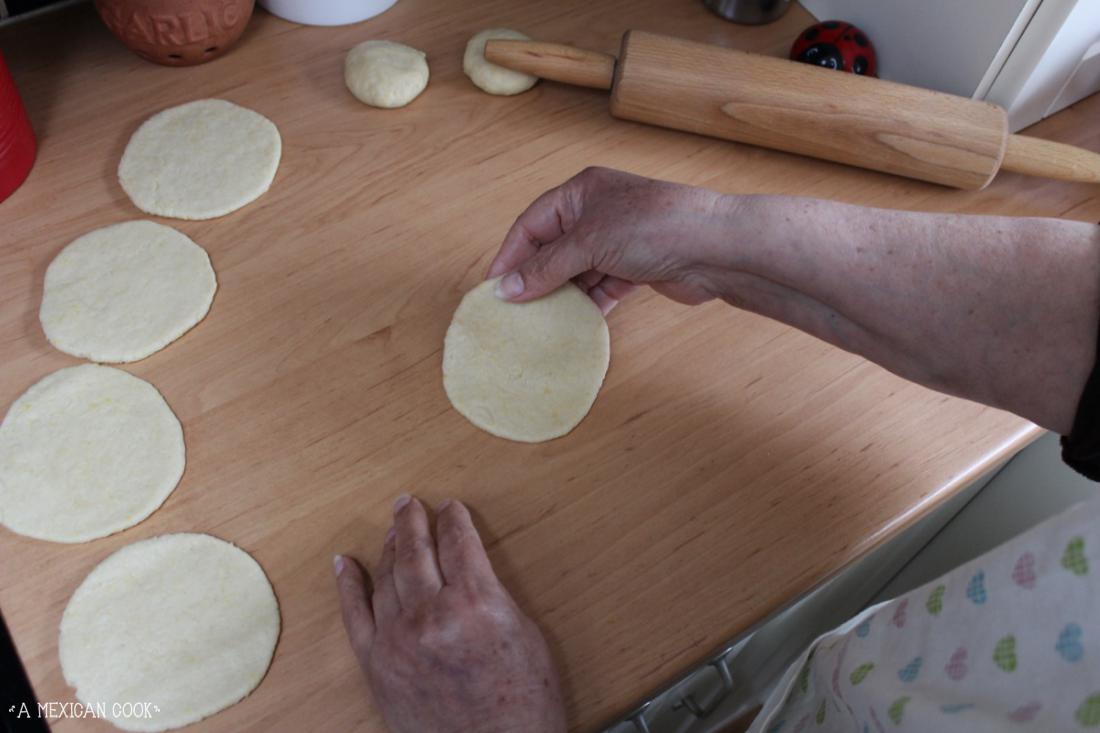
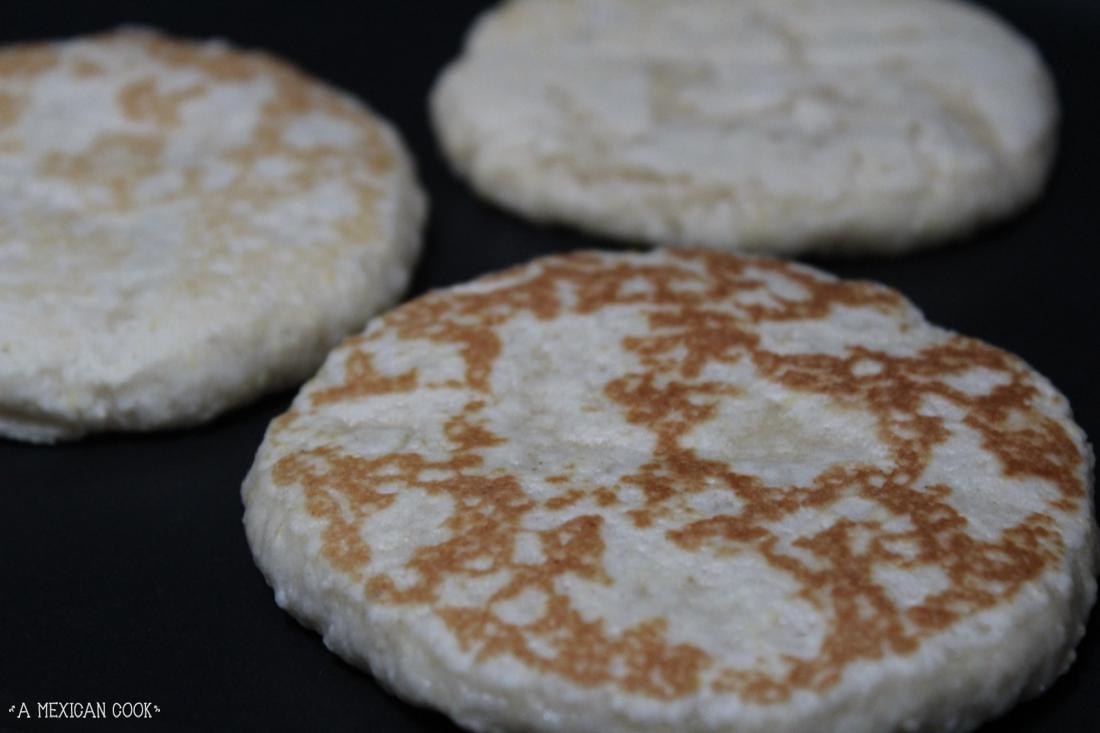
Roll the dough balls into a circle of about 5 cms in thickness. If the gorditas are too thin they will be crispy and the texture will be wrong. They need to be crisp on the outside and soft in the inside. The gorditas will rise a little bit when they cook but not much, so don't assume they'll rise at all when they're cooked.


Take a gordita and gently place it on the hot pan. Cook it for 40 seconds on that side before turning it with an egg lifter to cook on the other side. Cook the gordita on the second side for about two and a half minutes. Turn it again and cook it for another two minutes approximately to finish it off. Take it out of the heat into a plate. Depending on the size of your pan you can cook several at a time.
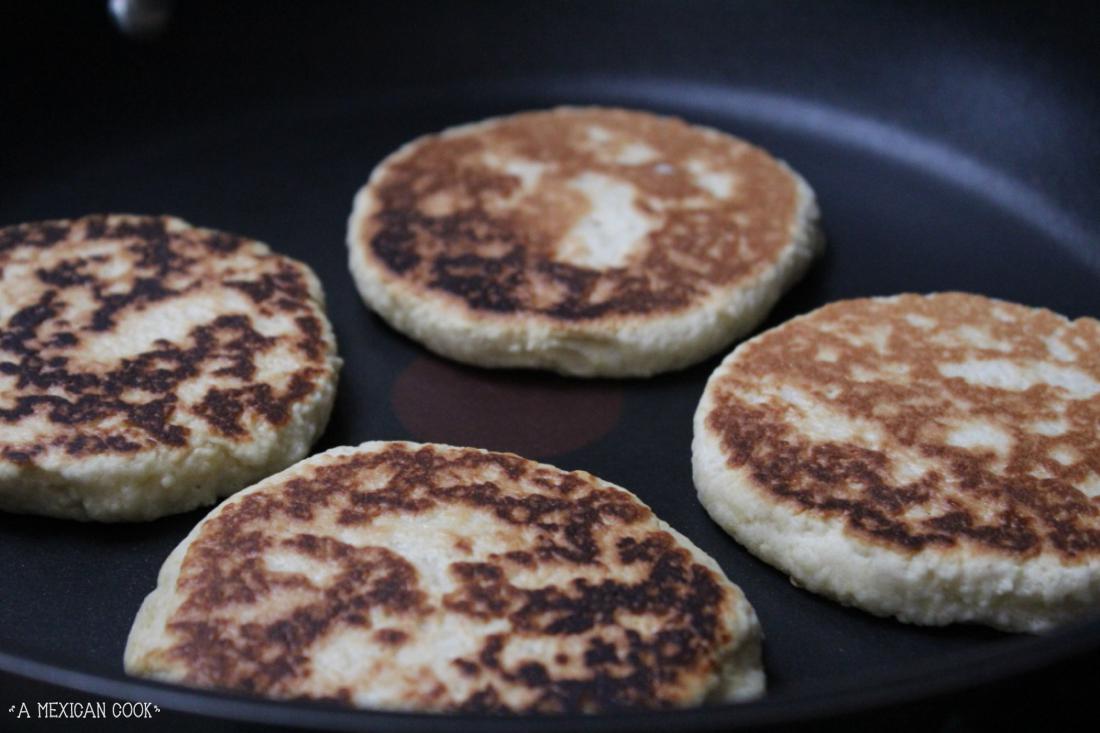

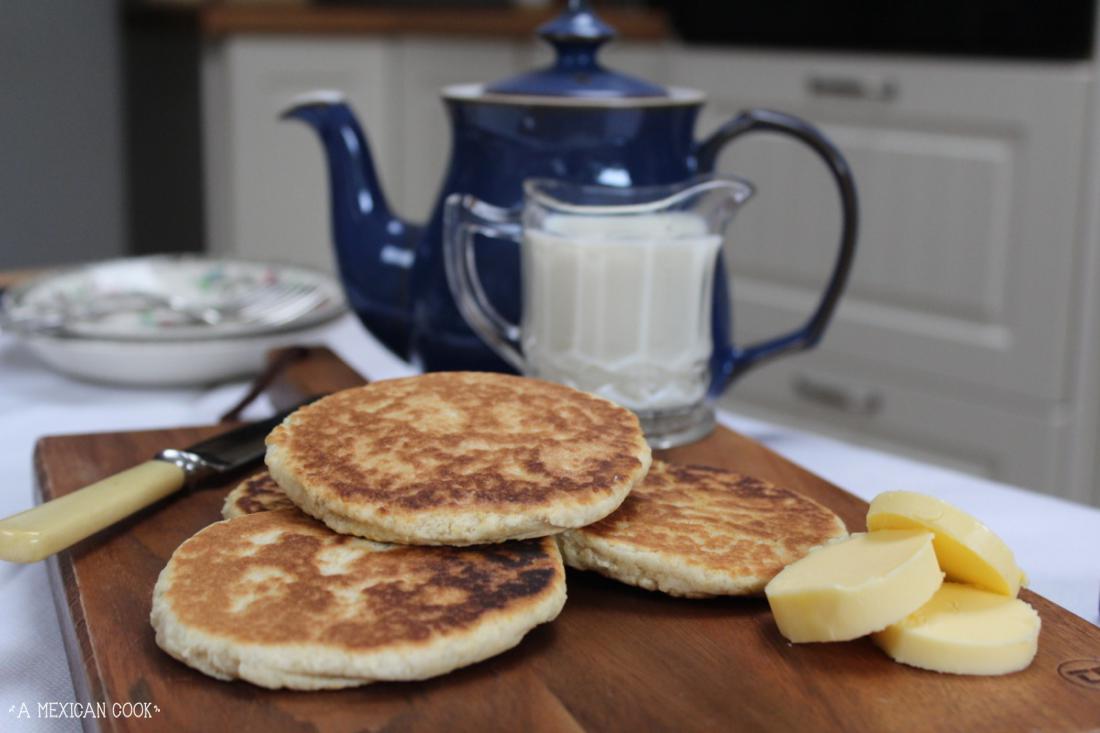
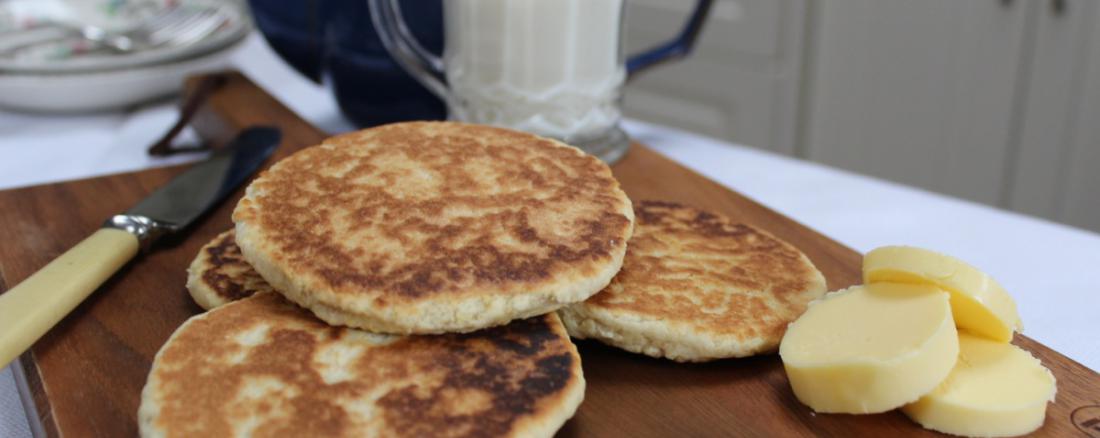
The gorditas are ready. They keep well in an air tight container, just make sure that they are cold before storing them. To reheat them, simply place them in a dry, hot pan for a couple of minutes on each side. You will notice the gordita goes hard as it cools down, but they will regain their lovely soft biscuity texture when you reheat them. Eat them hot with a generous layer of butter or with sliced avocado. They are delicious!