As I was putting the final touches to our kitchen at Picado Mexican Pantry, I was getting some glass jars and filling them with dry chilies. I used to do this at the market to show people what they look like and how they smell. It always worked well and it helped people decide if the chili they were buying was right for what they needed it for.
While labelling the jars, I also realised a very important thing, when in the market, I was there all the time, here in the shop, which opens six days of the week, I may not. I think that what sets us apart from other outlets is the expertise attached to our shop and I do not want to lose that. I curate everything we sell, I use the ingredients all the time and I am able to chat with both the new and the experienced cook of Mexican food about every single ingredient we sell. I've made all the mistakes and I've eaten Mexican food all my life. So all of a sudden, labeling the jars as 'ancho' or 'guajillo' wasn't enought anymore.
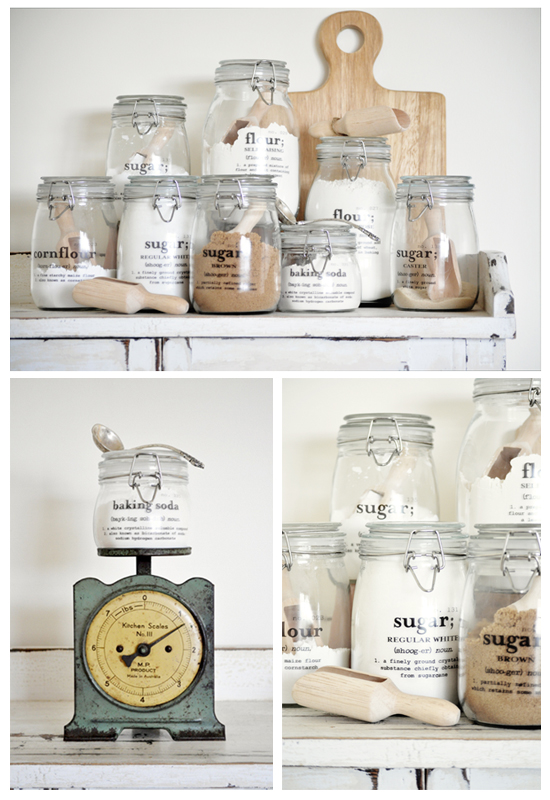
With this in mind, I decided that my jar labels needed a bit more. I did a bit of research and found these gorgeous ones on Pinterest. They led me to a very interesting Australian blog called, The Painted Hive.
Unfortunately, I couldn't find the specific paper in Ireland, called Decal, so ended up ordering their blank stickers and customise them, they're reasonably priced and saves me the headache of ordering paper from the UK (it's pricy). Customising the labels presented an iteresting challenge, how to sum up what a dry chili is and what to expect from it while still fitting everything in a jar label?!
It took me a bit of work and a lot of ruthless editing, but I like what I ended up with. So now, I not only have some beautiful jars for the shop, but I also have a handy reference for whoever is in the shop, an easy way to help customers while I'm not there! What do you think?
The stickers took about 2 weeks to arrive. Came in with very clear instructions and an extra sticker to use as a trial. Applying the labels was easy enough: you wet them, peel them, bath them, applied them, smooth them and then bake them! Sounds much more complicated than what it was! The blog post with step by step photos was perfect for a crafty novice like me! All in all, thumbs up for this little project. I will order the paper from the UK now and get labeling the ones at home! In the mean time, here's my little dried chilli guide... hope you find it useful!
Lilly's Guide to the most common Mexican Dry Chilies:
Chile Ancho:
REDISH BROWN, SOFT & WRINKLED
(an-cho) chili dried.
1. Low heat with fruity undertones; starts life as a fresh green Poblano pepper that has been dried. Used all over Mexico in Moles and sauces.
Chile Mulato:
BLACKISH BROWN, SOFT & WRINKLED
(moo-la-tto) chili dried.
1. Low heat with sweet chocolate undertones; starts life as a fresh dark Poblano pepper that has been dried. Used to make Mole Poblano.
Chile Cascabel;
REDISH BROWN, ROUND & SMOOTH
(kas-ka-bell) chili dried.
1. Medium heat with nutty undertones; starts life as a fresh bola chili. Seeds rattle. Used for salsa and stews.
Chile Chipotle;
DARK BROWN & SHRIVELED
(chee-po-tle) chili dried.
1. Hight heat and smokey flavour; starts life as a fresh Jalapeño pepper that has been dried and smoked. Used all over Mexico in salsas and many dishes.
Chile Pasilla;
BROWNISH BLACK, SHINY & WRINKLY
(pa-see-ya) chili dried.
1. Medium heat with grape/raisins undertones; starts life as a chilaca pepper then it's dried. Used in salsas, marinades, moles, pipianes and adobos.
Chile Arbol;
BRIGHT RED, SMOOTH & SHINY
(ar-ball) chili dried.
1. Very hot with slight lemony and lime undertones; starts life as a green arbol pepper and when ripen and red it gets dried. Used in many table salsas and as chili flakes.


